Archive for the ‘from the shop’ Tag
It’s a problem.
The reality is there were seven projects in the garage wooodshop that were screaming for my attention. Seven.
- The picture frames I’ve been working on for
months two years now … 13 of them
- The small bowls … 20 of them (Well, 21. And then I broke one, so, 20.)
- The walnut collection of cutting boards … 15 of them
- The mission candle holders … 18 of them
- The new cheese/cracker server design … 6 of them
- The backyard gates for Payton’s new house … 4 of them
- The shelf units for MrsMowry’s classroom … 2 of them
As I’ve become painfully aware, it’s now a race to see which explodes first: my head, or my garage woodshop that doesn’t have the space to store works in progress that aren’t progressing. Plus – plus! – when I start getting the required wood and sheet stock for the projects when I already have a very full lumber rack, I literally can’t move.
And that is a bad thing in a shop with power tools. Christopher was in the shop last weekend, and he said it felt claustrophobic. Not. Good.
I used to think that I could do 2 things well at the same time … in addition to work and family and church (not in that order). So, those 2 things could be Scouting & soccer. Or Scouting & genealogy. Or woodworking and a computer project.

The approved design for the gates is # 4 … along with the color and materials to be used. And my shopping list. All of my projects have humble beginnings. In this case, very humble.
You get the idea. Two things. On top of the three things that you must do. Add them up: five things.
Now, of course, that’s absurd. You can only do one thing at a time. One thing.
So, sure, let’s do seven woodworking projects at once.
I have a problem. Well, I have two problems. And about here is when I hear Velda’s dulcet tones in my mind … Lady, you just be quiet. Get out of my head.
One problem is that I have too many projects going in the shop. Too many.
Good news: I have moved three items on the above project list into the “finished” category. If you have been reading the blog, you’ve seen the bowls and the cutting boards over the last couple of days. MrsMowry’s shelves are also complete and just waiting for photographs in situ. The other four projects … not so much. That’s my first problem.
However, I believe the new cheese & cracker servers will be done in August. The backyard gates are in process for August and September … should be done in there somewhere. After I develop the design into more than just a sketch.
The picture frames and the mission candle holders, well, I’m getting to them (Little Girl and Susan: have faith! I will get there!). Some pieces should … SHOULD … be done by Labor Day. The rest? We’ll see.
Problem # 2 is that the shop is just in chaos. Too much stuff. No storage. Poor organization. I’ve got projects that need to be finished … and some of those projects were envisioned many years ago. The problem is that I must do too much vision work, and need to do more work work to catch up.
We’ve all been told that admitting you have a problem is the first step, so I’m going to share some of my chaos with you today. And then, I’m going to fix it … well, someday. Soon. Before my head explodes.

The latest batch of cutting boards are curing … they weep oil for a couple of days after they are “finished,” and that process must be done in a shop with no sawdust flying. So, no more cleaning until next weekend.

I’ve got 2 real work surfaces: the workbench (to the right) and my table saw with a protective cover on it (to the left). When the saw is covered … well, no sawing is happening. That leaves my workbench and whatever flat surface I can find to store things.

Underneath my router table, the boards with cove cuts are the ends of the cheese/cracker servers that are in process.

Here’s lumber including picture frame stock and offcuts that have nowhere else to go. I have too much lumber, and not enough to do what I’m doing.

Why do I like the holidays? Because Velda bakes Grandma Mowry’s Chocolate Pie (oh, and pumpkin pie) and they both require whipped topping. I get the empty containers for bolts & hardware that I don’t put into the organizers that I can’t get to, so they end up stacked on the workbench.

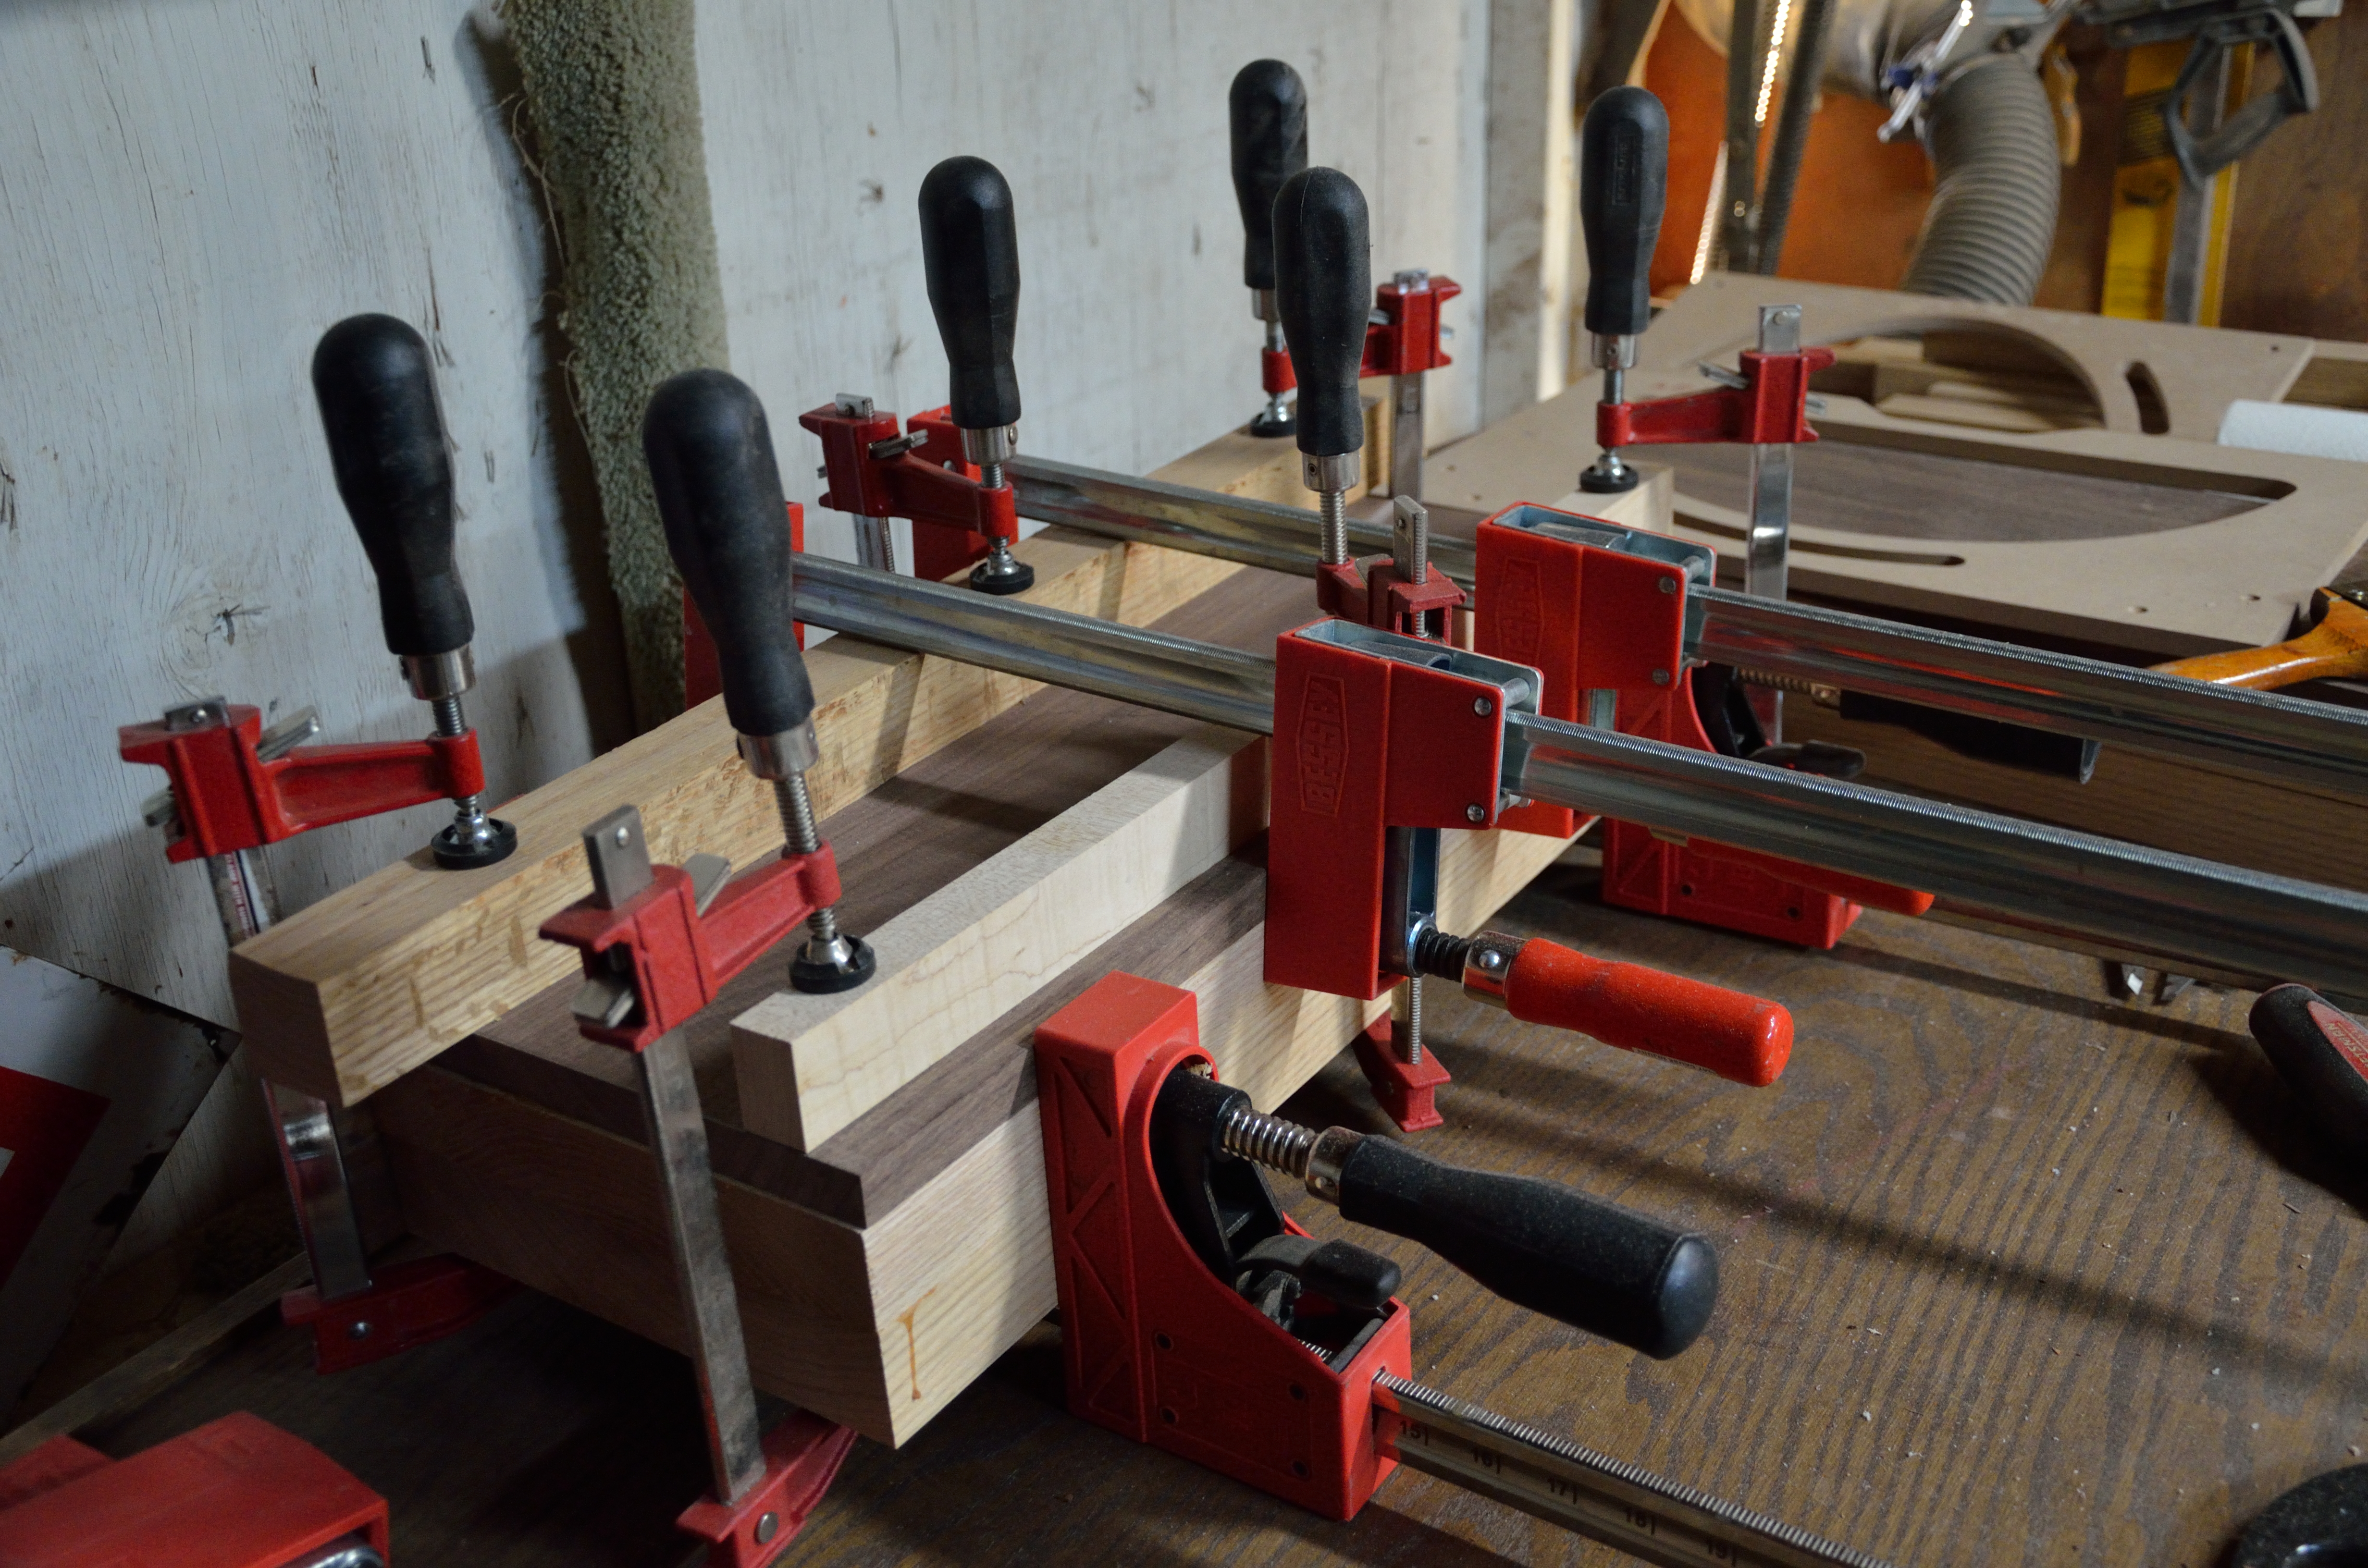
Under my drill press, here are the picture frames and the clamps that make them waiting for frame # 4 to get glued. Oh, and finger boards, hold down clamps and dust collection nozzles are thrown in as well.

Under the drill press? The rest of the picture frame parts. I’ve got parts everywhere.

The lumber rack is full. That’s Payton’s gate on the left side. Cutting boards are upper right and bottom. Most of the middle shelf is the guest bedroom set that’s ordered … but not even on the project list. Yet.

The dowels are for the cheese/cracker servers. The pile of tapes, nut drivers and pencils are just hanging out.

The workbench installed in my house when I moved in is really a poor use of space. It’s got a big cabinet behind the garage door hinge that’s almost impossible to get to.

See the yellow extension cord in the center of the picture? That’s where my sheet stock cutoffs go. I just don’t know when I’ll be able to get there from here.

If I emptied the boxes of screws into the organizer beneath them, I’d be able to find them. If I see the drawers behind the towels, glue and miscellaneous stuff that sits there constantly.

This box tucked up in the rafters has some lovely angel candle holders, an angel applique intarsia, and a custom holiday plaque for the Mowrys. Velda wouldn’t let me make them this year (I asked!), so the box went back into the rafters. It’s been there since the Cub Scout days … and, well, the boys haven’t been in Cub Scouts for many years.
 I have this problem. I have too much wood in my
garage workshop.
There’s only one solution: make more stuff. So I did.
All cutting boards have routed hand holds on each end for easy handling. Non-skid rubber feet attach with stainless steel screws for long life. Finish is mineral oil, with a top coat of Mrs M’s special Board Butter that combines mineral oil with locally produced beeswax (and it smells like honey when I rub it in!).
These cutting boards are for Mrs M’s Handmade fall craft shows which begin in September. So now the only question is … how soon do I need to make more?

# 71 Cutting Board, $125. 17-1/2″ x 12-1/4″ x 1-5/8″. End Grain. Walnut, Hard Maple & Padauk.

# 73 Cutting Board, $100. 15-1/4″ x 11-3/8″ x 1-3/16″. Edge grain. Black Walnut, Hard Maple & Padauk.

# 56 Cutting Board, $85. 14-1/4″ x 11-3/4″ x 1-3/8″. End Grain. Black Walnut.

# 55 Cutting Board, $85. 14-1/2″ x 11-5/8″ x 1-3/8″. End Grain. Hard Maple & Walnut.

# 53 Cutting Board, $85. 18″ x 11-3/4″ x 1-3/8″. End Grain. Hard Maple & Walnut.

# 54 Cutting Board, $85. 13-1/4″ x 11″ x 1-3/8″. End Grain. Walnut, Hard Maple & Jatoba.

# 72 Cutting Board, $100. Black Walnut and Hard Maple, edge grain. 16-1/4″ x 11-5/8″ x 1-5/8″.

# 52 Cutting Board, $85. 14-1/4″ x 11-5/8″ x 1-1/4″. End Grain. Hard Maple & Walnut.

# 57 Cutting Board, $60 each. Edge grain. 11″ x 11″ x 1-1/2″. Hard Maple, Padauk, Yellowheart & Walnut.

Three pieces were made from some walnut I got from a contractor doing home restorations. There are 3 slightly different sizes. # 1 is 11-3/8″ x 10-3/4″ x 1-1/8″. # 2 is 10-5/8″ x 10-1/2″ x 1-1/8″. # 3 is 10-7/8″ x 9-1/4″ x 1-1/8″. End Grain. Black Walnut.
More
Three New Cutting Boards
Cutting Boards: The Third Round
Cutting Boards: The Next Set
I Had To Mention Cutting Boards
The Cutting Board
I’ve been in a smaller mood lately.
I’d made several big bowls, big cutting boards … it was time to go small. I made 20 small routed bowls from Hard Maple, Red Oak and Black Walnut. Some very interesting grain patterns here.
The “large” bowls are 6″ diameter. The smallest bowls are 3″ diameter. The oblong pieces are 5″ long x 2-1/2″ wide.
A day of beginnings. A day when you start fresh with uncut wood, clean floors and an empty workbench.
So, what should I make?

For me, I always have to start by emptying my scrap bucket. This is the wood that’s too small to make anything … and large enough that it will burn well to cook pizza. It hurts to throw away endcuts, like that hard maple piece on top. That’s about $12 retail, rendered useless by the “checking,” or splitting from the end as the wood dried. Luckily, I didn’t pay retail.

The stock is selected … ready for processing.

One of my traditions is to tape the plans of the project I’m making onto the shop cabinets.

The days are good when the saw looks like this.

And the floor, too!

For this project, I need to make another jig … in this case, to help me make mitered corners for the project.

Picture frames on an easel stand, coming soon!
Buying hardwood isn’t as simple as buying a 2×4 at your favorite lumber yard. Here’s the lingo:
First, a 2×4 probably will not be 2″ x 4″ when you buy it. The board did start out that size, actually, but it was cut and sanded to make the finished board 1-1/2″ x 3-1/2″. That same principle applies to all lumber: a smooth 1″ x 6″ is actual 3/4″ x 5-1/2″.
You can buy lumber rough, with no sanded smooth faces or cut smooth edges. It will be rough & splintery. In most lumberyards, though, softwood is sold after it is sanded smooth on all 4 sides. Hardwood is generally sanded smooth on the top and bottom faces of the board.
You can also buy hardwood “SL1E,” meaning that one edge of the board is a straight line, ready for immediate, further processing directly on your table saw. Most hardwood is sold “S2S SL1E,” meaning that the top and bottom of the board is sanded smooth, and one edge is straight. The other edge will be rough, which is OK, because that’s the edge that you will cut off when you cut the board on the table saw.
If you buy the wood cheap, though, you’ll get it rough on all 4 edges. That means you need a way to straighten and smooth the wood. You’ll need a handplane (if you’re dedicated) or either a jointer or electric planer (my choice) to smooth the top and bottom faces of the board. To straighten an edge of the board, you’ll need a shop-made jig. A jig is a tool that you make to help you repeat a process in the shop. In this case, the jig will allow me to straighten rough lumber into usable stock with one straight edge.

The problem is that hardwood often comes with rough edges. When you have a rough edge, you can’t make a reliable, straight and square cut.

This straightening jig holds the rough-edged board as you send it through the table saw. As seen here, the left edge of the jig will slide along the table saw fence to provide a square edge as a guide …

… allowing the blade to cut the board, as close as possible to the opposite, rough edgee. You’re left with a smooth face, suitable for further processing on the saw.

Here’s a properly straightened board, with that new straight edge up against the fence of the table saw.

There’s a reason for the blade guard: leave it on the saw. Keep your hands and fingers away from the spinning blade. Seriously.

Here are the smaller boards cut from the straightened board … which will eventually bcome a cutting board very like the one used by the Pioneer Woman, Ree Drummond, on her TV show.