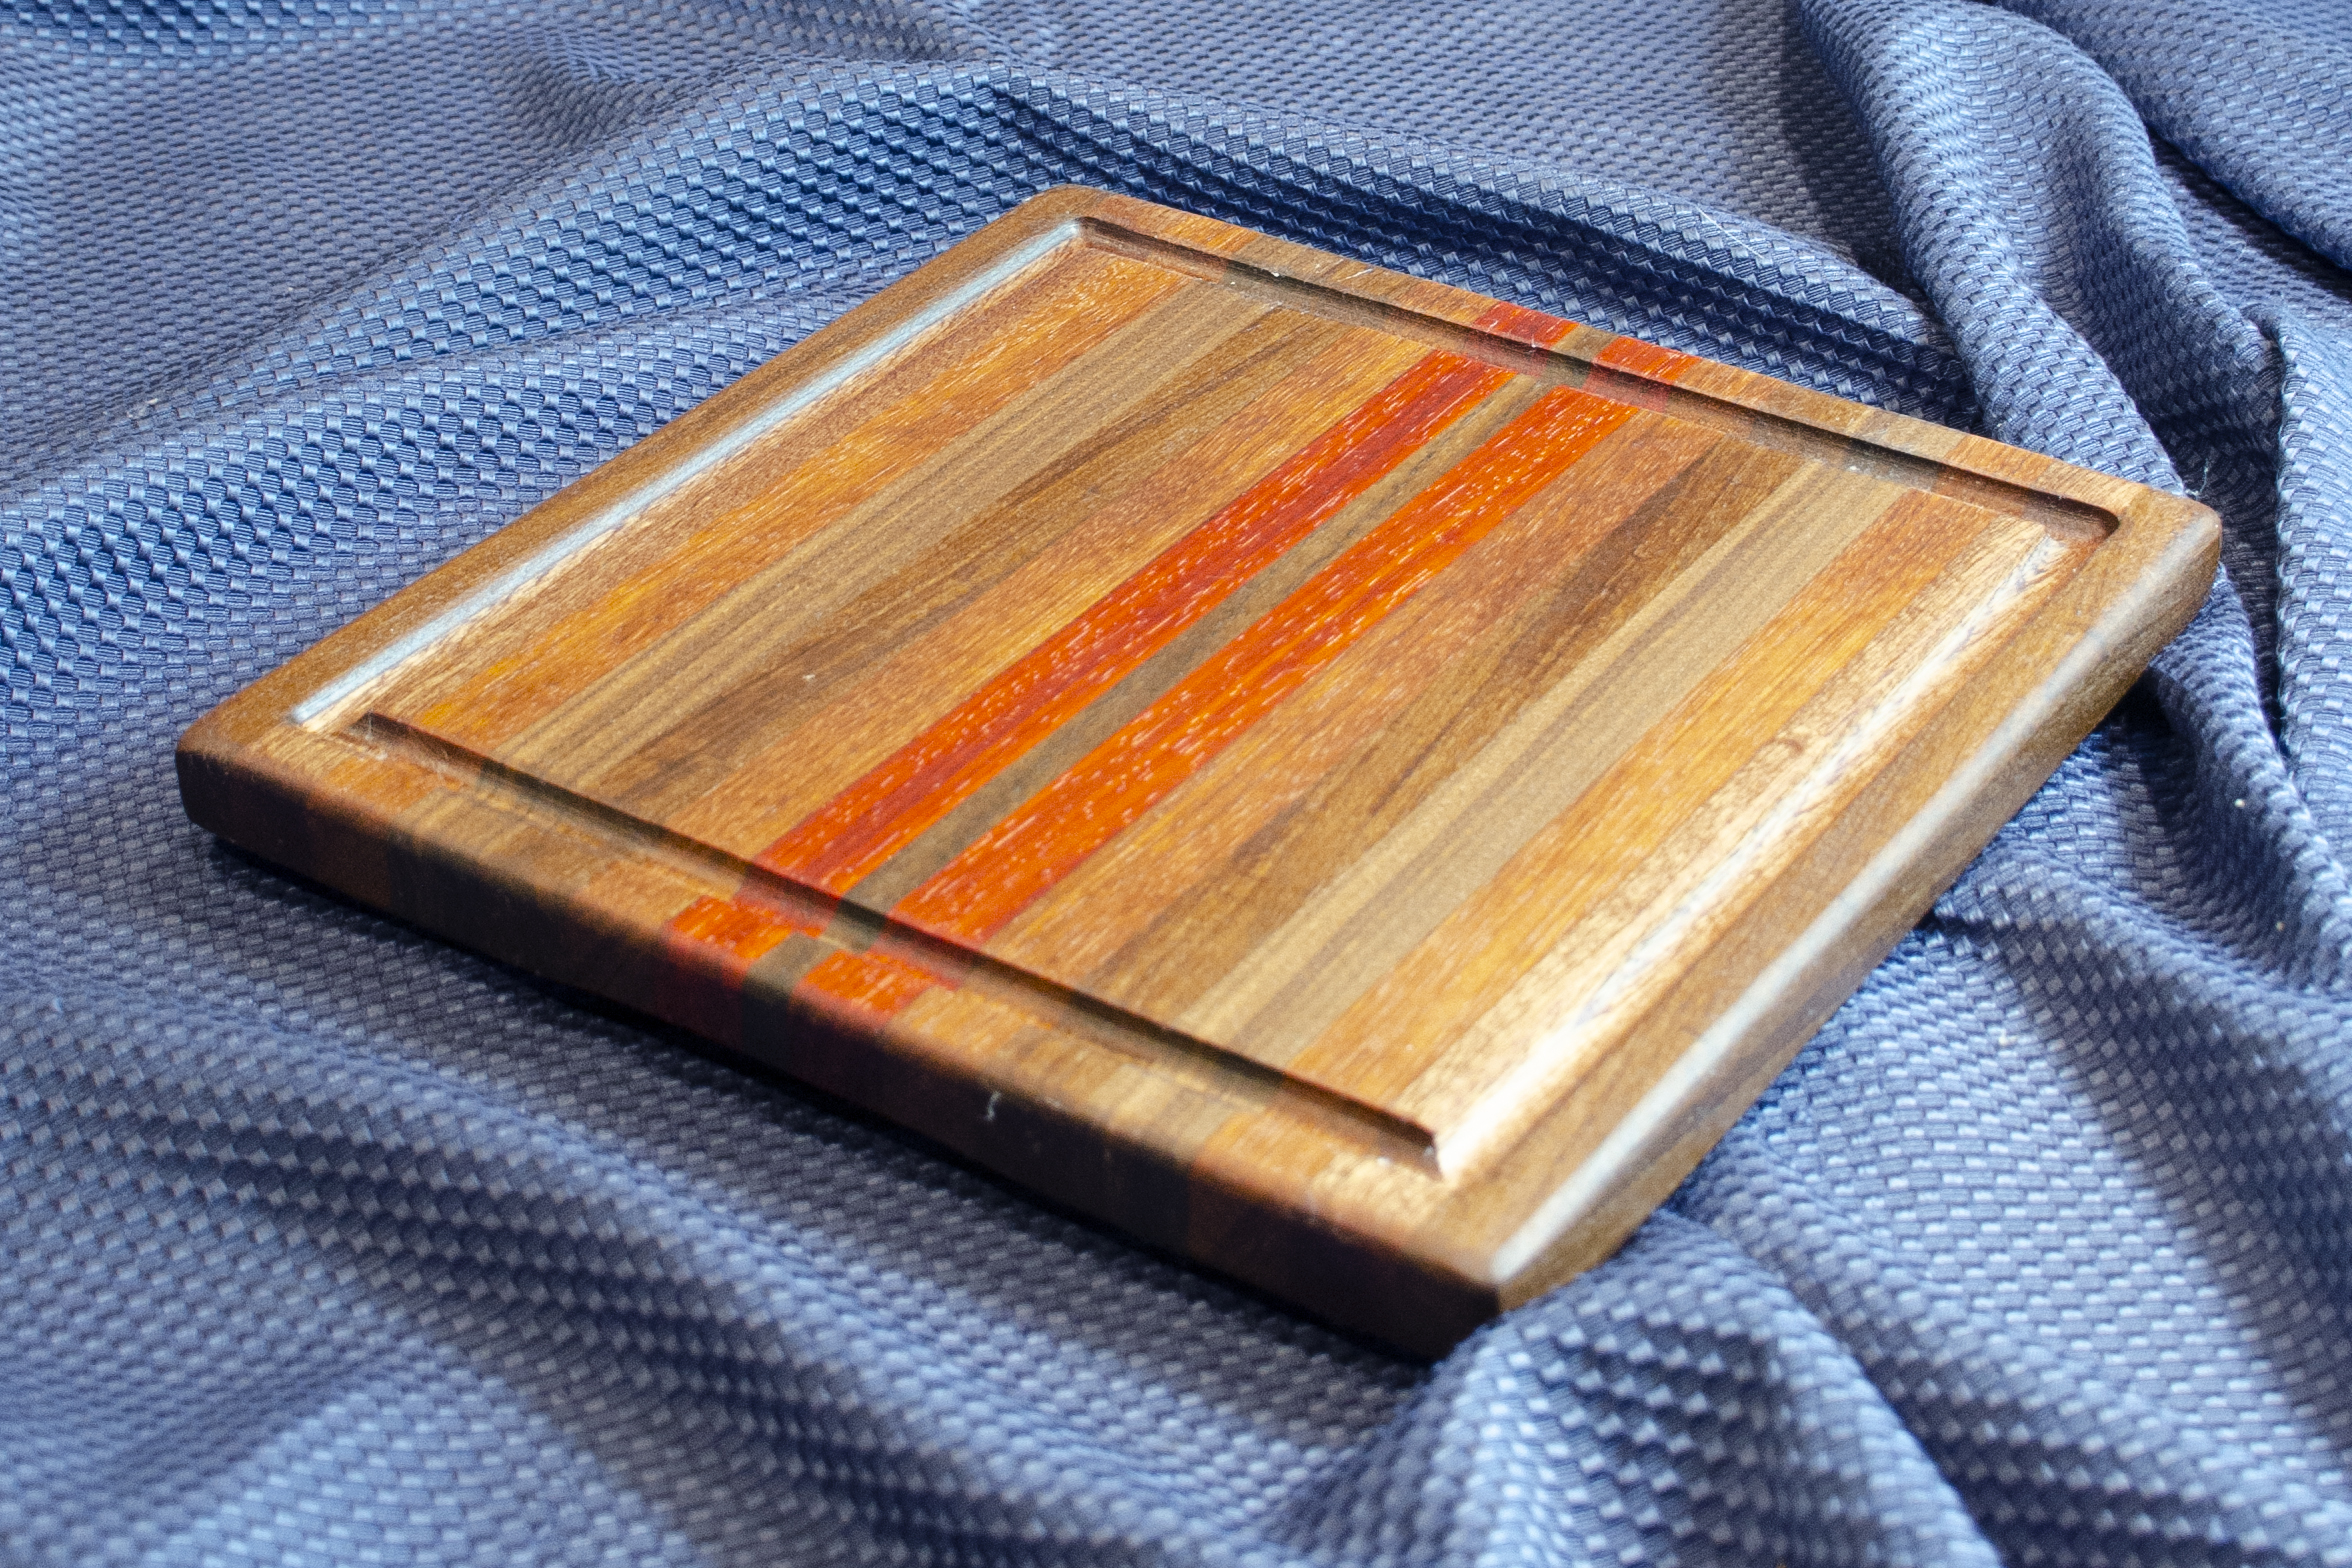
When I started making these, everyone called them surfboards.
They aren’t really shaped like surfboards, but they have a certain curvy shape that takes people there.
But, then I started making actual surfboard-shaped serving pieces or cutting boards (you choose how to use them!). I needed to rename these pieces, so … well, I am known for my creativity (well, sometimes).
Large Serving Piece was the perfect name. Name the thing what it is, that’s what I think. Creativity can only confuse people at this point.
The LSPs are made with cove cuts on all 4 sides. Cove cuts are made taking the piece across the front edge of the table saw blade, moving sideways – not through the blade with a straight cut. This makes a large sweeping curve which is unique to this piece.
And making those cove cuts spews sawdust everywhere. Saw blades are made to capture sawdust between the saw teeth, and return it to below the table of the table saw for dust collection. The sideways movement of this cut interrupts that flow … and I’m left with a fine sawdust over the entire shop as well as an 1″ of sawdust under foot after making these pieces.
Once the cove cuts are done, then the piece gets the signature oval-ish shape cut on the band saw, and then the LSP is smoothed with 2x different random orbital sanders. 4x non-skid rubber feet held on with stainless steel screws complete the piece, which floats lightly on the table.
I make cutting boards in a mostly traditional way. Some of my choices, though, are often not traditional.
Cutting Boards that come from the Woodshop are generally for one-sided use … they have non-skid rubber feet so the boards do not move while you use them. I am not a fan of moving targets when you have a knife in your hand.
When I do make a 2-sided board – like the Carnivore Boards – then the boards come with a non-skid silicon mat. Both the mat and the aforementioned feet hold the boards in place, and, importantly, provide an air gap so the bottom of the boards never just sit in water on the counter. That would be bad.
All boards are made from quality hardwoods, selected for their beauty and particular characteristics that make them good cutting board woods.
Last week, a pair of large cutting boards I barely remembered making – 6 years ago! – came back to me for refinishing. That is a service I do for free, by the way, but I digress.
The boards were 6 years old but were truly in fabulous condition. They had been well-used (every day, the owners proudly told me), and they had some knife marks as well as a scorch on one of the boards from where some hot pan had been set on the board for too long. I sanded the boards smooth, got the scorch mark as well as about 98% of the knife marks out, and re-oiled the boards. It took about 15 minutes all told, and the owners were thrilled with their like-new boards.
Did I mention they ordered 2 more large boards for gifts? I was pretty thrilled, too.
In preparation for last week’s event, I finished several cutting boards to add to my display. Here is what the really-new boards look like.
Carnivore Board 22 – 101. 14″ x 19″ Bloodwood & Hard Maple. Poultry side.
Carnivore Board 22 – 101. Beef/Pork Side.
Cutting Board 22 – 501. Black Walnut End Grain. Juice Groove. Sold on its first showing.
Carnivore Board 22 – 102. Hard Maple. Poultry side. Note the big juice groove holds 2 cups of juice!
Carnivore Board – 22 – 102. Beef/Pork side, with a more normal juice groove that’s 3/4″ wide x 3/8″ deep … much larger than “typical” juice grooves that are offered.
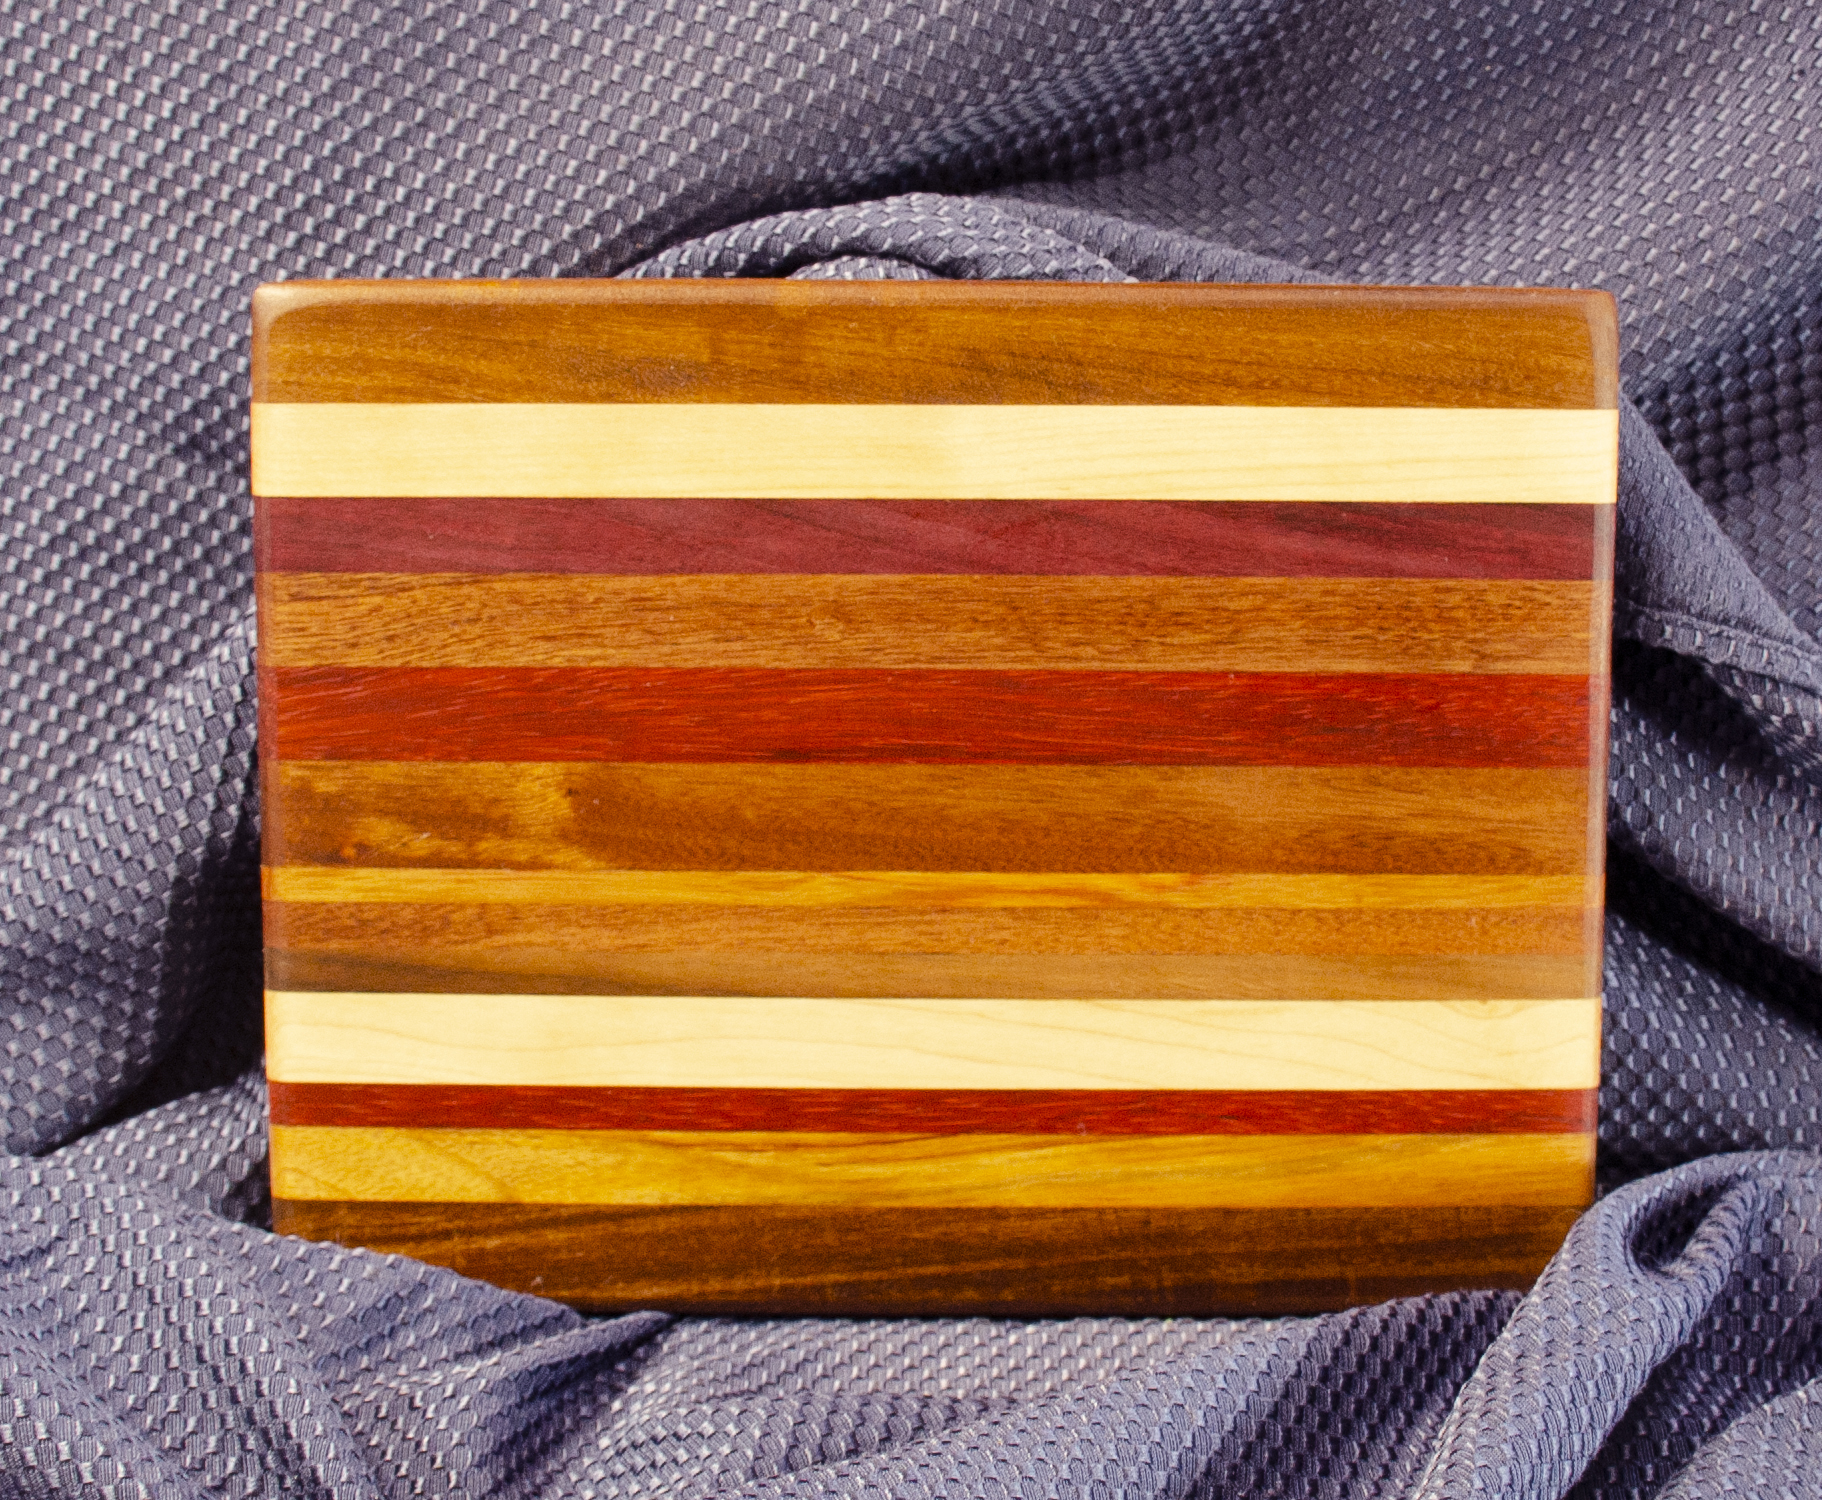
Cutting Board 22 – 203. Edge grain. Hard Maple, Black Walnut & Purpleheart. 12″ x 16″ x 1-1/4″.
Carnivore Board 22 – 105. Spectacular Black Walnut, on the poultry side.
Carnivore Board 22 – 105. On the Beef/Pork side.
Cutting Board 22 – 201. Black Walnut, Purpleheart, Bloodwood and Hard Maple. Edge grain. 12″ x 16″ x 1-1/4″.
Carnivore Board 22 – 103. Hard Maple.
Carnivore Board 22 – 103, the Beef/Pork side.
Carnivore Board 22 – 104. Black Walnut.
Carnivore Board 22 – 104, flip side.
Cutting Board 22 – 202. Purpleheart & Hard Maple. 14″ x 18″ x 1-1/4″.
When I was an itty bitty, if you can imagine such a thing, I was allergic to eggs. They gave me a rash. But, good news, whenever we went to a pot luck dinner at the lodge, or a family gathering, or whatever … someone would always bring deviled eggs.
And I would always sneak 1 or 3 when Mom wasn’t looking.
So I ate my way out of the allergy. Built up a tolerance, I did.
Deviled Eggs: a savory treat from a wicked chicken. Love ’em.
So, I knew that as I built out my offerings of serving pieces, I would be making Deviled Egg Platters. The world needs great serving pieces, and I am happy to help. And if Deviled Eggs just happen to get made by more people more often, well, life will be better for us all.
You’re welcome.
It took 2 years to design these platters, which each hold 24 Deviled Eggs. I worked with a designer in the Philippines who had more skills in 3D design … and less affinity for Deviled Eggs, come to find out. The design is exactly what I wanted, though. These are shaped on the CNC, as you might expect, and each platter takes 9 hours to carve. These are a labor of love; I make them to make the world a better place.
The platters are 14″ across, and 7/8″ thick. They are made for 2 sided use: the back is plain, and would allow you to serve appetizers, charcuterie, or whatever you might like on the flat surface.
Not that I understand why anyone would do this, when they could make more Deviled Eggs.
Personally, I prefer the Platters made with white/yellow/red woods (to match the Deviled Eggs), so I use a lot of Bloodwood, Hard Maple, Osage Orange, Canarywood, Yellowheart, Bubinga and Makore. Your mileage may vary, of course, so I will make others with a more varied color palatte. Eventually.
I made 7x of these last last year, and 4x were given to family. That left 3x to take to my final event of the year, Santa’s Art Shop … and all 3x were sold in 90 minutes. Time after time, I heard the exclamation, “OH, my friend/cousin/Aunt/Mother/Friend always makes Deviled Eggs, and she would LOVE ONE OF THESE.
Happy to be of service. They will be back in stock in February. Meanwhile, you are welcome to order one, here.
Once you purchase a Soap Drying Rack, 2 big boxes will soon land on your front step.
Really big boxes. Together, they weigh about 75 pounds.
These are your instructions on how to insert the 8x bolts to assemble each unit. If you are stacking 2 units, then you’ll also have 4 bolts to attach the units together. That is all that is required!
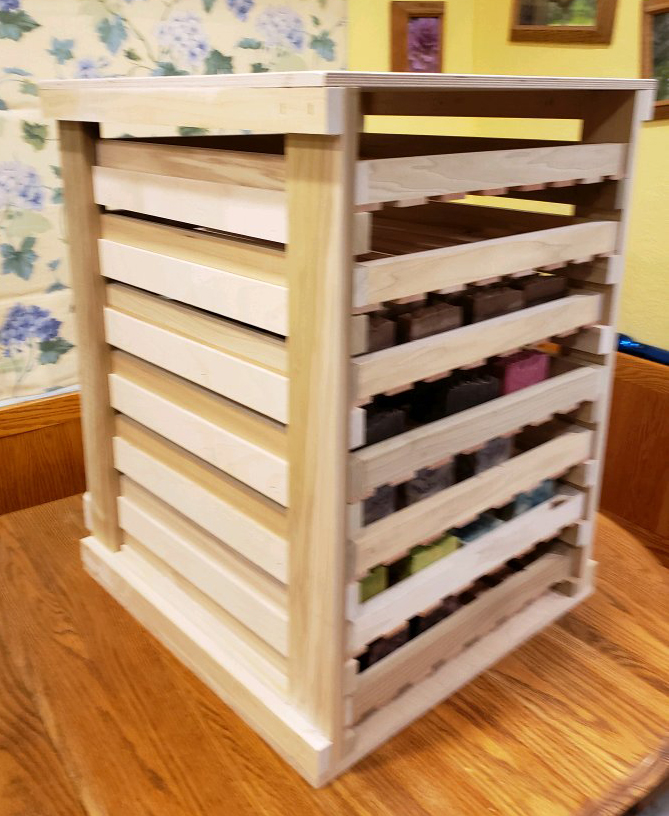
One Soap Drying Rack, on wheels, assembled and ready for some serious saponification.
Here is how you assemble your Soap Drying Rack(s).
Open the boxes and lay out the top, bottom, sides, 8x trays and bags of hardware. If you bought a double rack, only open the boxes (that are labeled) with the bottom rack. No need to confuse yourself with more parts.
Put the bottom on a flat surface. If you bought the Rack with wheels, then turn the bottom upside down so the wheels are facing up. Use your hands to press the tab down towards the wood and unlock the wheels. This will be much trickier after the unit is assembled, so unlock the wheels first. Note wheels are shipped in different colors, so I can’t always control which color is on your unit.
3. Flip the bottom back over, so it rests on the unlocked wheels.
4. Look for the letters that are handwritten on the outside of the boards mounted to the bottom. Now, find the side that has matching letters. When you place the side directly next to the mounted board, the 2x holes that are drilled beside the letters will line up. Use the 2-1/2″ bolts – the long ones. Put a single washer on the bolt, and then insert it from the outside of the unit so the bolt sticks through to the inside of the unit. Then, place another washer, split washer and nut back on to the bolt and make them finger tight.
5. Repeat with the other hole.
6. Repeat with the other side. Note: I always label every unit differently, so you must assemble the sides with the tops and bottoms as labeled and explained, below. It’s the only way it works!
7. Place the top of the unit on the sides so the letters match, and the holes will line up.
8. Insert bolts from the outside with one washer, then put the other washer, split washer and nut on the inside, finger tight.
9. Check a tray to make sure it fits on the rails and slides into the rack easily. Remove the tray(s).
10. Tighten all bolts.
11. Note: the bottom tray does not fit on runners like the other 6x trays. The bottom tray slides on the boards mounted to the bottom of the unit. You have to insert the tray a bit carefully at first, but once you get the hang of it, the bottom tray goes in smoothly.
12. If you bought a 2nd unit for stacking, then open the other 2 boxes.
13. Attach the bottom of the top unit to the top of the bottom unit (got that?) by matching the letters on the top and bottom. When the letters match, the holes for the top & bottom will match.
14. Insert a 2″ bolt (the shorter, thicker ones) with a washer on the bolt from below, sticking up through the top and the bottom. You may find that using a hammer to tap the bolt gently through the tight hole is helpful. Put a washer, split washer & nut on the exposed bolt. Make it finger tight.
15. Repeat for the other 3x holes.
16. Repeat steps 4 – 10 for the top unit.
Yes, I ship you 8x trays. The 8th tray is a bonus … and insurance in case one tray breaks in shipping. Plus, it fills the box nicely for shipping.
Back in the day … back when I went a-vendoring at craft fairs … I sold Magic Bottle Openers. In fact, I sold a lot of them. They were quite popular, and my demonstration of them became a point of entertainment in the booth.
Honest.
Me. The Entertainer.
Who knew?
But I digress. I would demo the MBOs, people would laugh … and then a small voice was often heard asking, what do you have for wine drinkers?
Uh…..
Well, at first the answer was nothing. And the customers were not pleased.
Then, the answer was Wine Bottle Holders. They were a bit of fun, but, ultimately, I didn’t like making them, so I stopped. I’m an adult, you see. I get to choose. And the customers were not pleased.
So, then, the answer became Wine Bottle Coasters. I still have those (well, I will have them when I make more!), but they were not as much fun as an MBO. And the customers … well, you know.
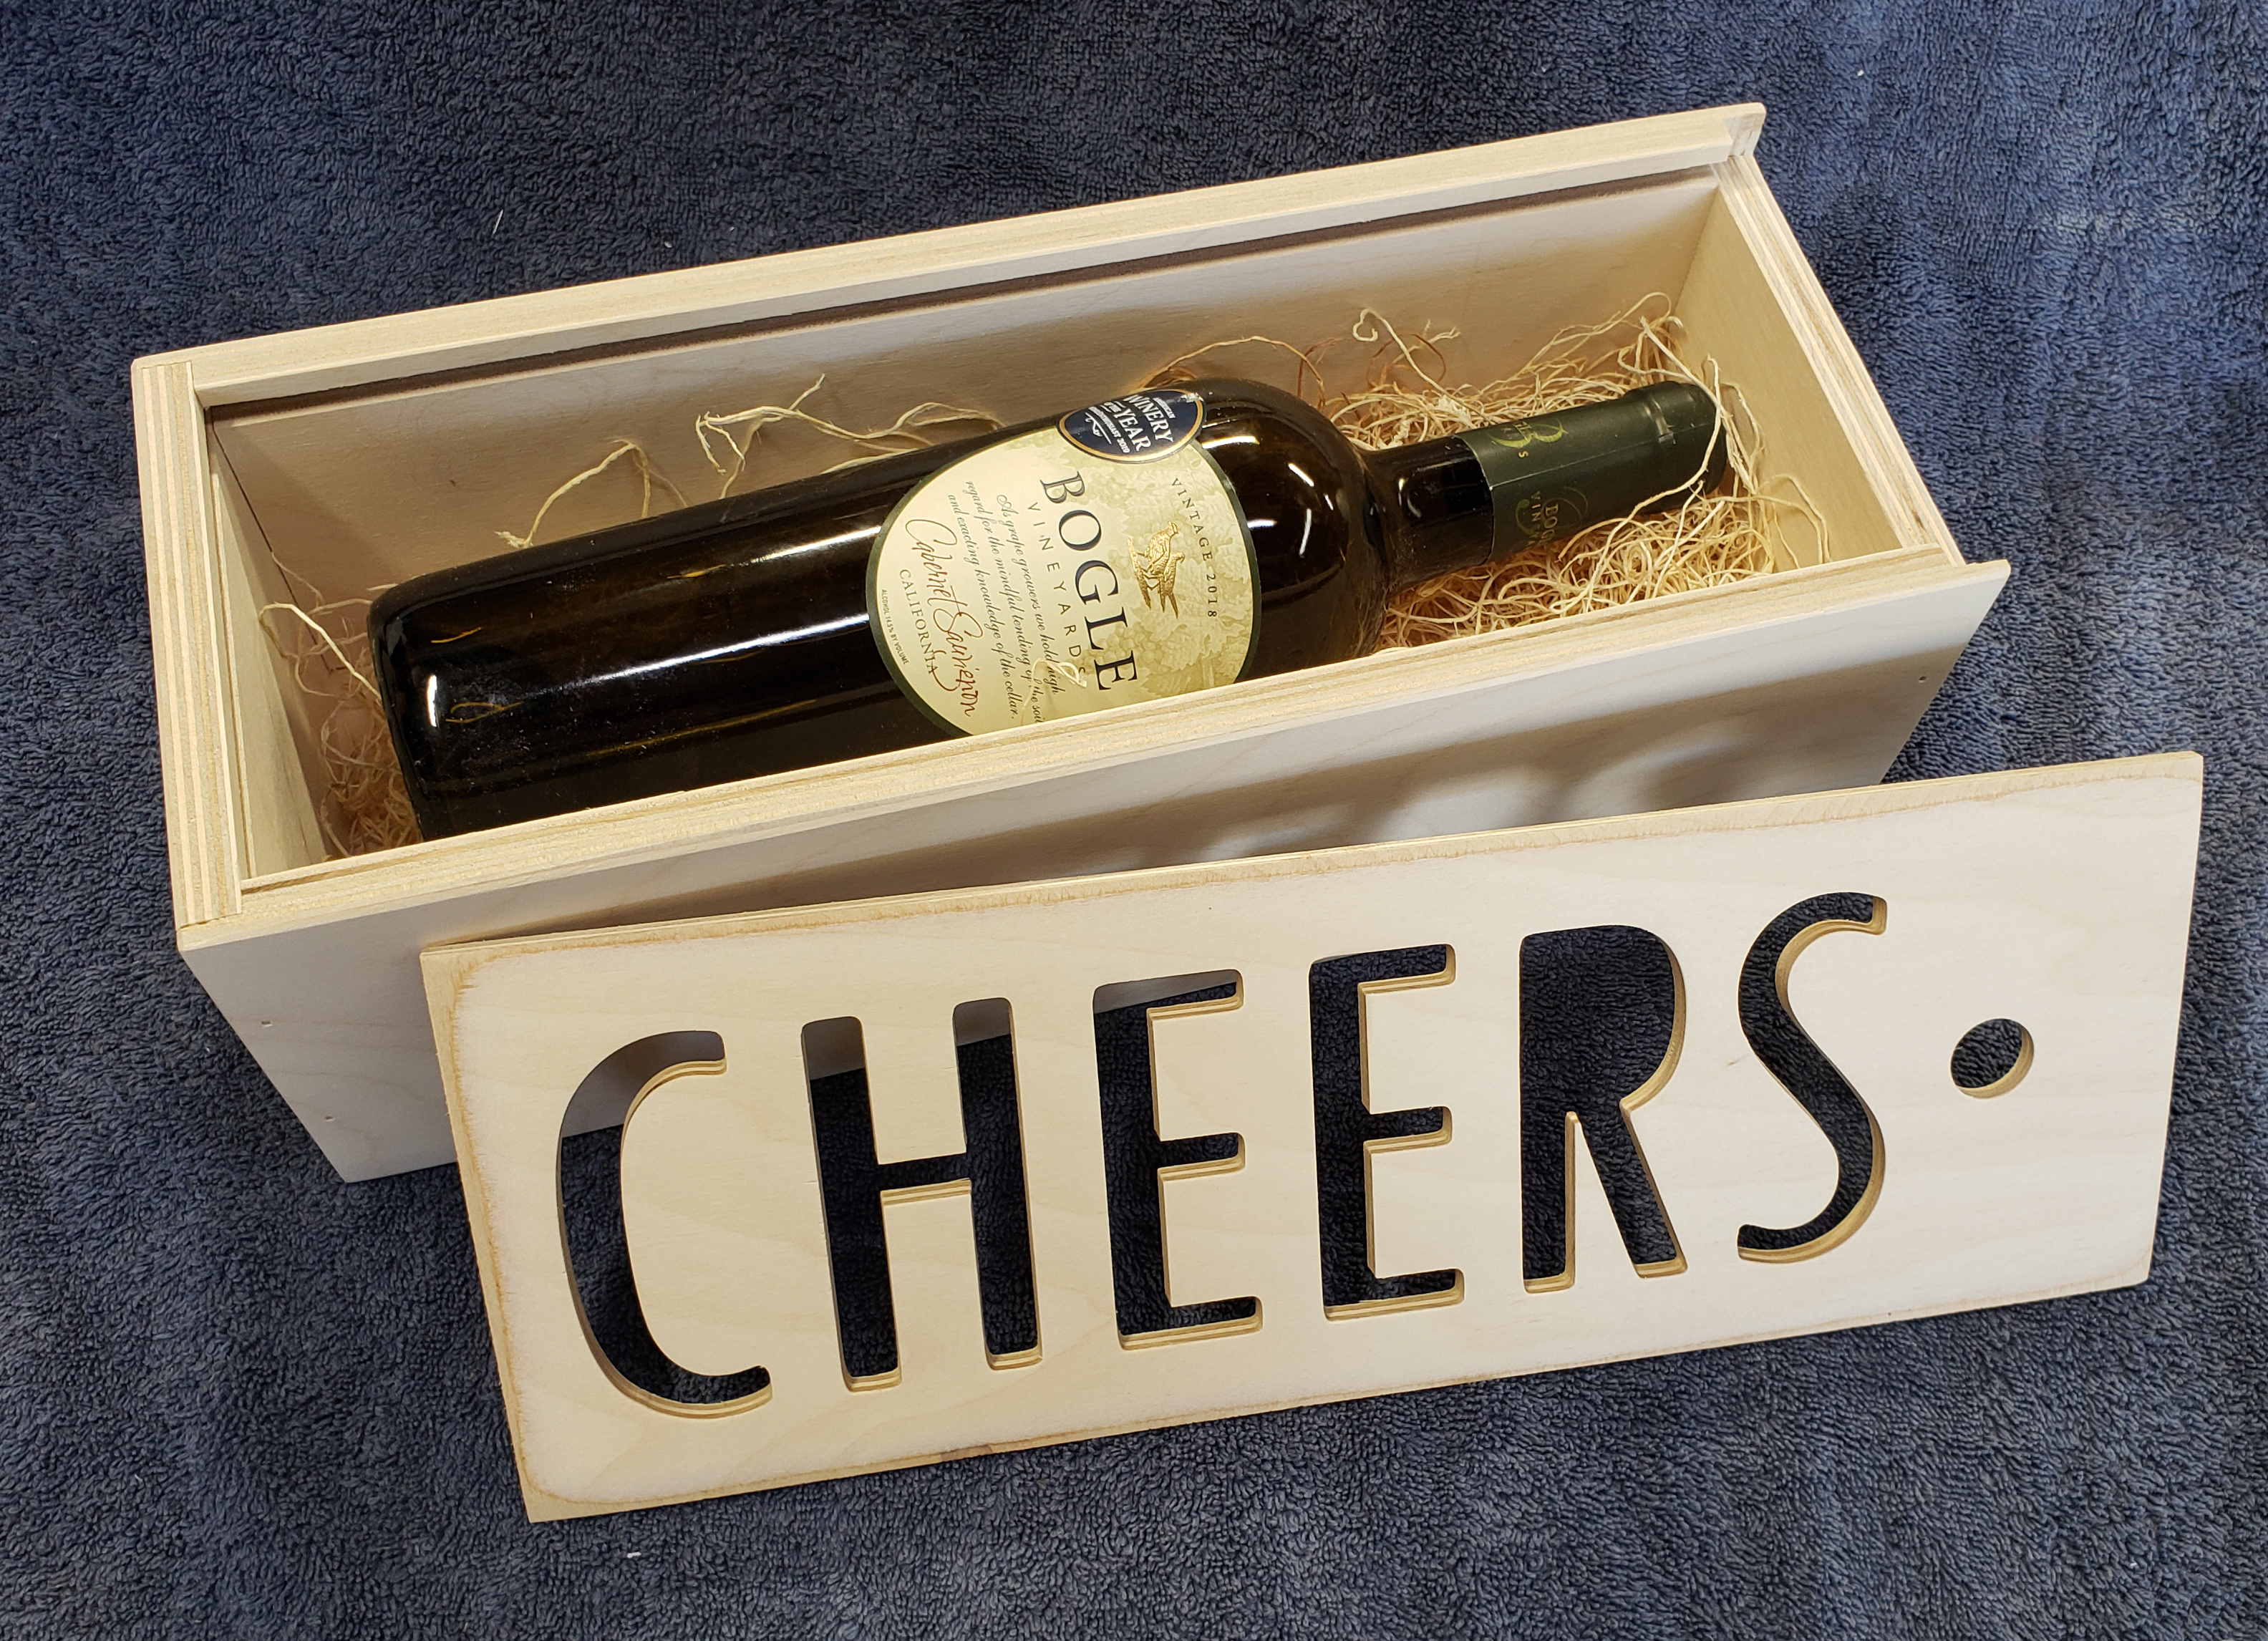
Which brings me to my latest offering, Wine Gift Boxes. I got an order to make 200 of these a couple of months ago for a local business that wanted to give them to key customers. And you only have to hit me with one big order like that to make me think that I may have found something.
These Wine Gift Boxes come in 2 sizes, 1 bottle and 2 bottle. They come with a packing material called excelsior, AKA bird’s nest. Excelsior is long aspen wood shavings that is just perfect to nestle a bottle of wine into when you present the bottle(s) and custom box to your friend or client.
I am making the boxes out of Baltic Birch, which is a high quality, 7-layer plywood. The wood is left raw, but sanded smooth. I have made a few versions that are available now for immediate shipment … and I have a few designs that can be personalized and are perfect for weddings, anniversaries, house warmings, or other important celebrations.
All of these can be purchased today on my retail website, MrMsWoodshop.com. Click here to go straight to the page with the WGBs. If you are ordering a customized box, be sure to include all of the details for what you want carved or engraved on the lid in the notes with your order.
And … if you are going to a craft fair in May, I just might see you there! I will be at the Fresno Home & Garden Show as well as Bishop Mule Days. Details are on my events page, here.
She had me make her the original Soap Drying Rack when she became a serious Soaper … and as soon as other Soapers saw the rack, I began to hear a clamor.
If you are a maker, then you know soap needs a drying rack. Until today, I’ve never offered racks for sale.
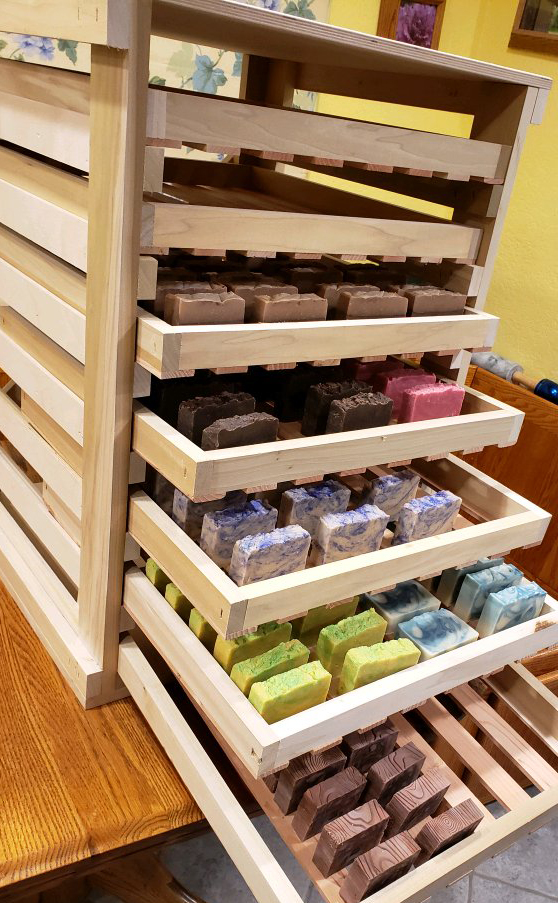
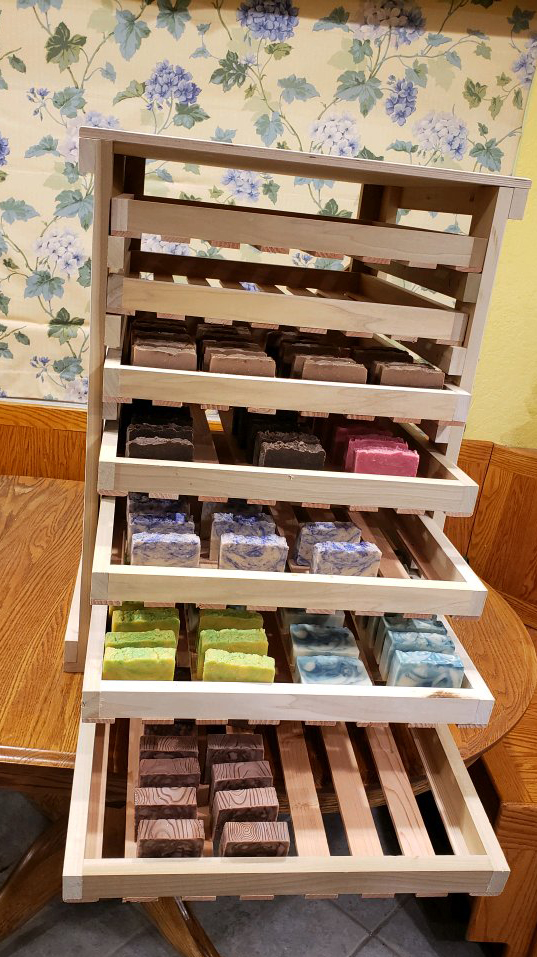
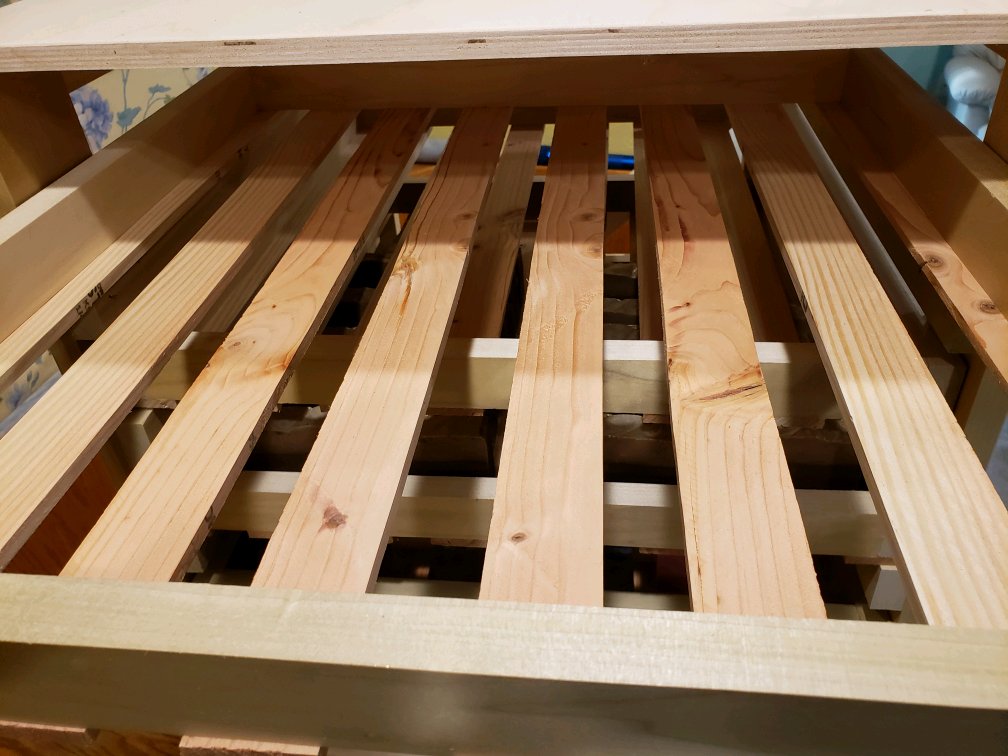
These racks have 7 removable, wooden slatted trays to allow for plenty of dry air circulation during the suponification process (I listen when Mrs M speaks!). The footprint of the piece is 23″ x 23″, and the rack stands about 30″ tall. Add the optional 4″, locking wheels if this will be on the floor, or no wheels if the Rack will sit on a table or counter.
Shelves are spaced to allow for bars as tall as 3.5″. Depending on how large your bars are – and if you dry them flat or on edge – total capacity for each unit is as much as 450 bars.
Buy a 2nd unit to double the storage capacity; units can stack 2 high. With wheels on the bottom unit, total height will be about 64″.
Construction is all wood, typically of Poplar, Pine & Baltic Birch Plywood. The wood is left raw: this is a soap maker’s tool, not a piece of furniture. All surfaces are sanded and splinter-free, but this is not a fine finish.
Each Rack ships in 2 boxes. There is a minimal amount of assembly required; all holes are pre-drilled and hardware is included. Instructions for the simple assembly are here.
NOTE: this piece is not always in stock, and does take a few days to build. If I’m already committed to other projects, delivery might take a few weeks. Email me first if you’re concerned about timing.
You can purchase these Soap Drying Racks directly on the upgraded Mr M’s Woodshop site. Here’s a direct link to the Soap Drying Rack page.
Pictured is the solid version of the 7 tray Rack, which could be picked up directly from the Woodshop. If I’m shipping to you, the joinery will change a bit, and those pictures are still not done.
And, by doing that, I found these 17x boards. See? Organization is a good thing. You just have to embrace the pain!
The whole story is that, at long last, we’re remodeling our home. We’ve lived here over 30 years, so it’s simply time for changes to be made. The first floor is getting paint, flooring & lighting. Upstairs, the master bathroom is getting remodeled out to the studs: new shower, vanity, plumbing, mirror, etc. New. New. New.
For far too long, you see, we put up with the problems in our home because … well, it wasn’t a priority. Money was tight. We had no time. And, it all worked, in a fashion.
Now, though, the kids are gone and we had an opportunity to solve some long-standing problems with our home. Like, how it was always dark in the living room. And, storage for Mrs M & Mr M was a CHALLENGE that we had no real solution for. The result: storage containers of soaps, lotions, cutting boards & serving pieces lived in the downstairs hallway between events. House Beautiful, it was not. But we had a plan….
And that plan began with lighting being installed, and that meant all of the stuff being stored in the hallway had to move. Some went upstairs into the guest bedroom (a problem for another day, when we’re allowed to have guests!). Some went to our new, larger storage space. And some went to the Family Room until we got a bit more organized. All good.
Except, during the upheaval, a container of new small boards that were awaiting branding by my laser engraver got moved & misplaced. They moved to the Family Room at the bottom of a stack of containers and I didn’t find them until I moved that entire stack a few weeks later. Now, I’m happy to report, those boards have been branded, oiled, waxed & photographed.
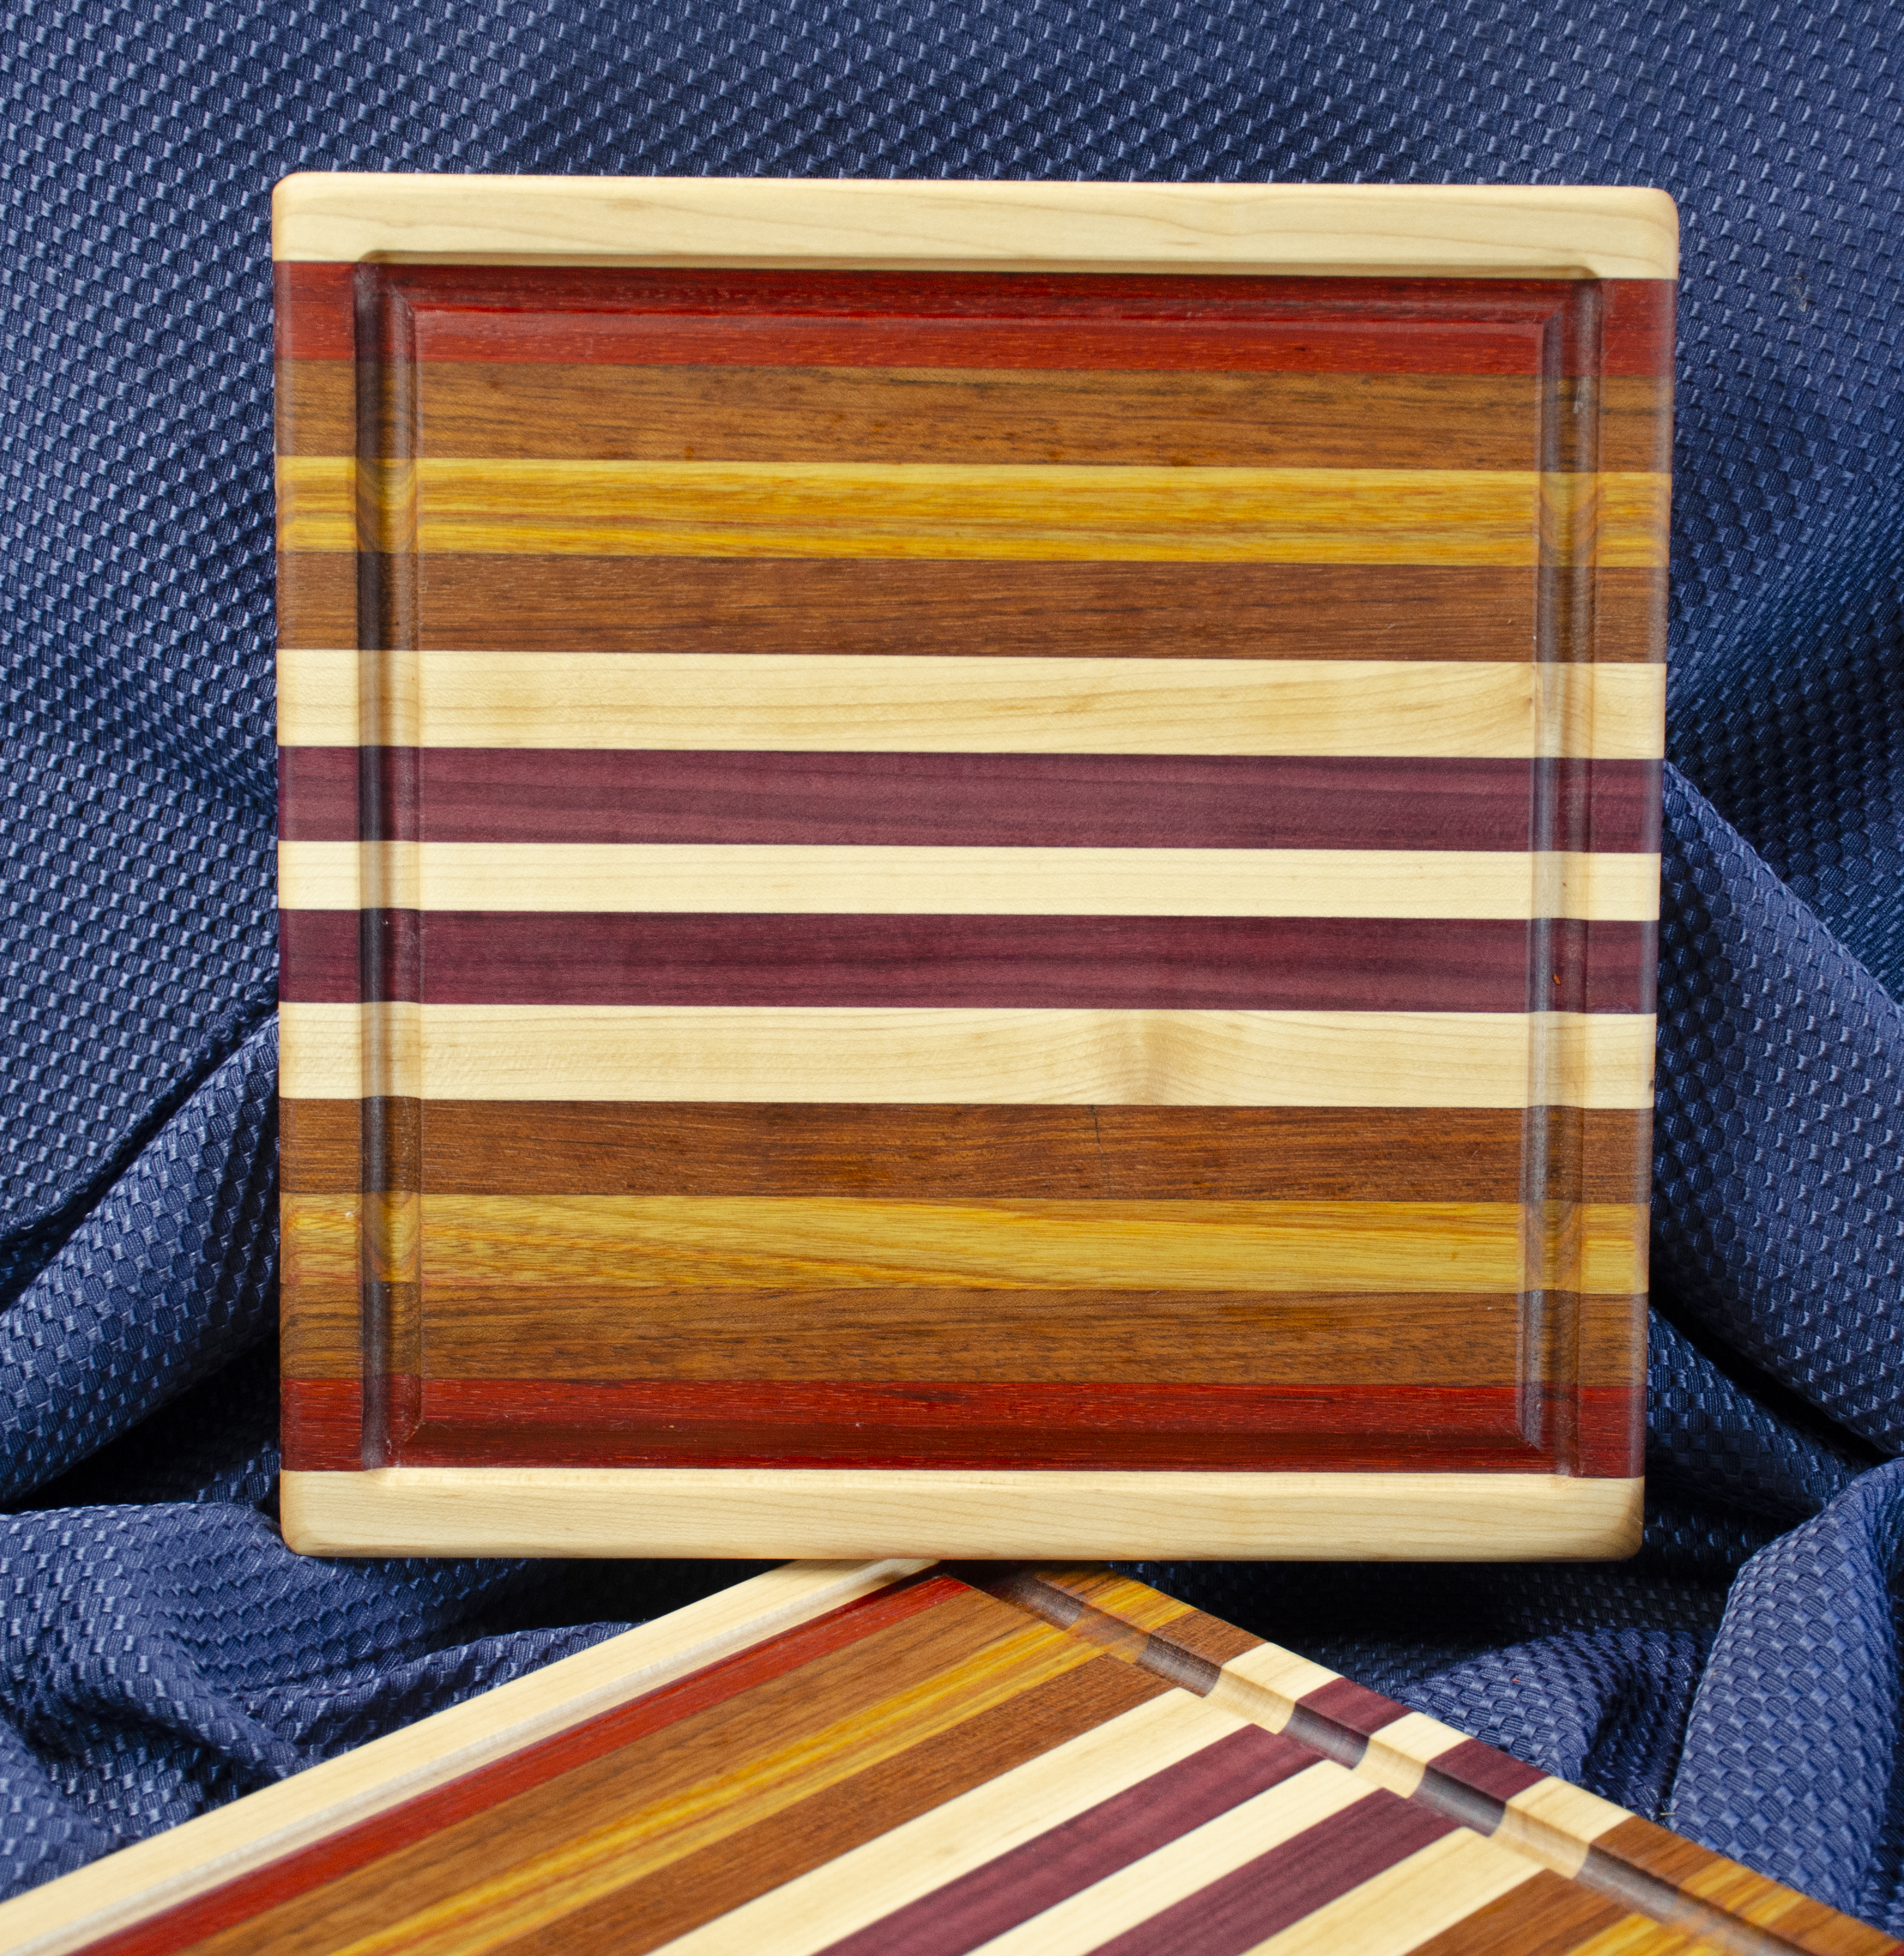
These Juicy Small Boards are all 11-1/2″ x 11-1/2″ x 7/8″, with a juice groove that’s 1/2″ wide and 1/4″ deep. More of a crumb catcher, really … but also perfect for you to corral your juicy food while you serve a ribeye, slice a tomato or deliver a sandwich for an after school snack.
You’re an adult, you get to choose. These Juicy Small Boards are a perfect complement to your larger counter top board that’s central to meal prep. As with all of my cutting boards, these boards have non-skid rubber feet held on with stainless steel screws, along with routed fingerholds so they are easy to move to wherever you need them.
If you like what you see, you can purchase these on the upgraded Mr M’s Woodshop site. Just hover your mouse, or click on a photo & get the file name of the one(s) that you like. The file name will be in the format, “Small Board 20 – 2xx.” Put those numbers in the notes section of your order, and I’ll choose those for you if they are still available. And, yes, I recently upgraded MrMsWoodshop.com so you can buy directly and easily. Here’s a direct link to the Juicy Small Board page, and here are the latest boards that have made it to the finish line:
It’s the most basic question once someone tells me they want to buy a cutting board. OK, what size?
There’s no wrong answer here.
I’m now making boards as small as 6″ square, and counter-top boards as large as 17″ x 21″ x 1-1/2″. I’ve made even larger cutting boards … but I don’t carry them to & from events.
Carrying is a burden when the boards are large, you see.
“Cheese Boards” are what I call cutting boards that are less than 11″ in any dimension. They can be used for cutting, of course, but in my head, these are for serving cheese & crackers or other appetizers. I know many buyers love these small boards for one purpose uses, such as dicing fruit for after school snacks. The smallest of these are what I envision as “Bar Boards” for slicing lemons & limes. Dicing garlic or onions on a dedicated small board might make sense to some that like to separate the stinkin’ rose from other vegetables.
Here are the “Small Boards” that were just completed. These are all edge grain boards, meaning you cut on the edges of the lumber. They are all 11″ x 11″ x 7/8″, and have a juice groove. Routed fingerholds & non-skid rubber feet complete these boards (and all of the boards on this page) that can be cutting boards, serving pieces for ribeye steak … or you get to choose what to do with yours!
Finally, I get to my favorite cutting boards, which are end grain boards. These are the most difficult to make, show the least wear, and are the best for your knives. Made like the classic butcher blocks, these end grain boards are the centerpiece of any well-appointed kitchen. I seldom make these smaller than 13×17.
The world is full of cheese … and I’m going to help you slice it.
Such may not be the makings of an empire, but it is a part of my dogged search for the perfect cheese & cracker servers. I’m getting closer every day … and a well-appointed home will have a cheese slicer for those moments when a block appears that must become bite-sized pieces.
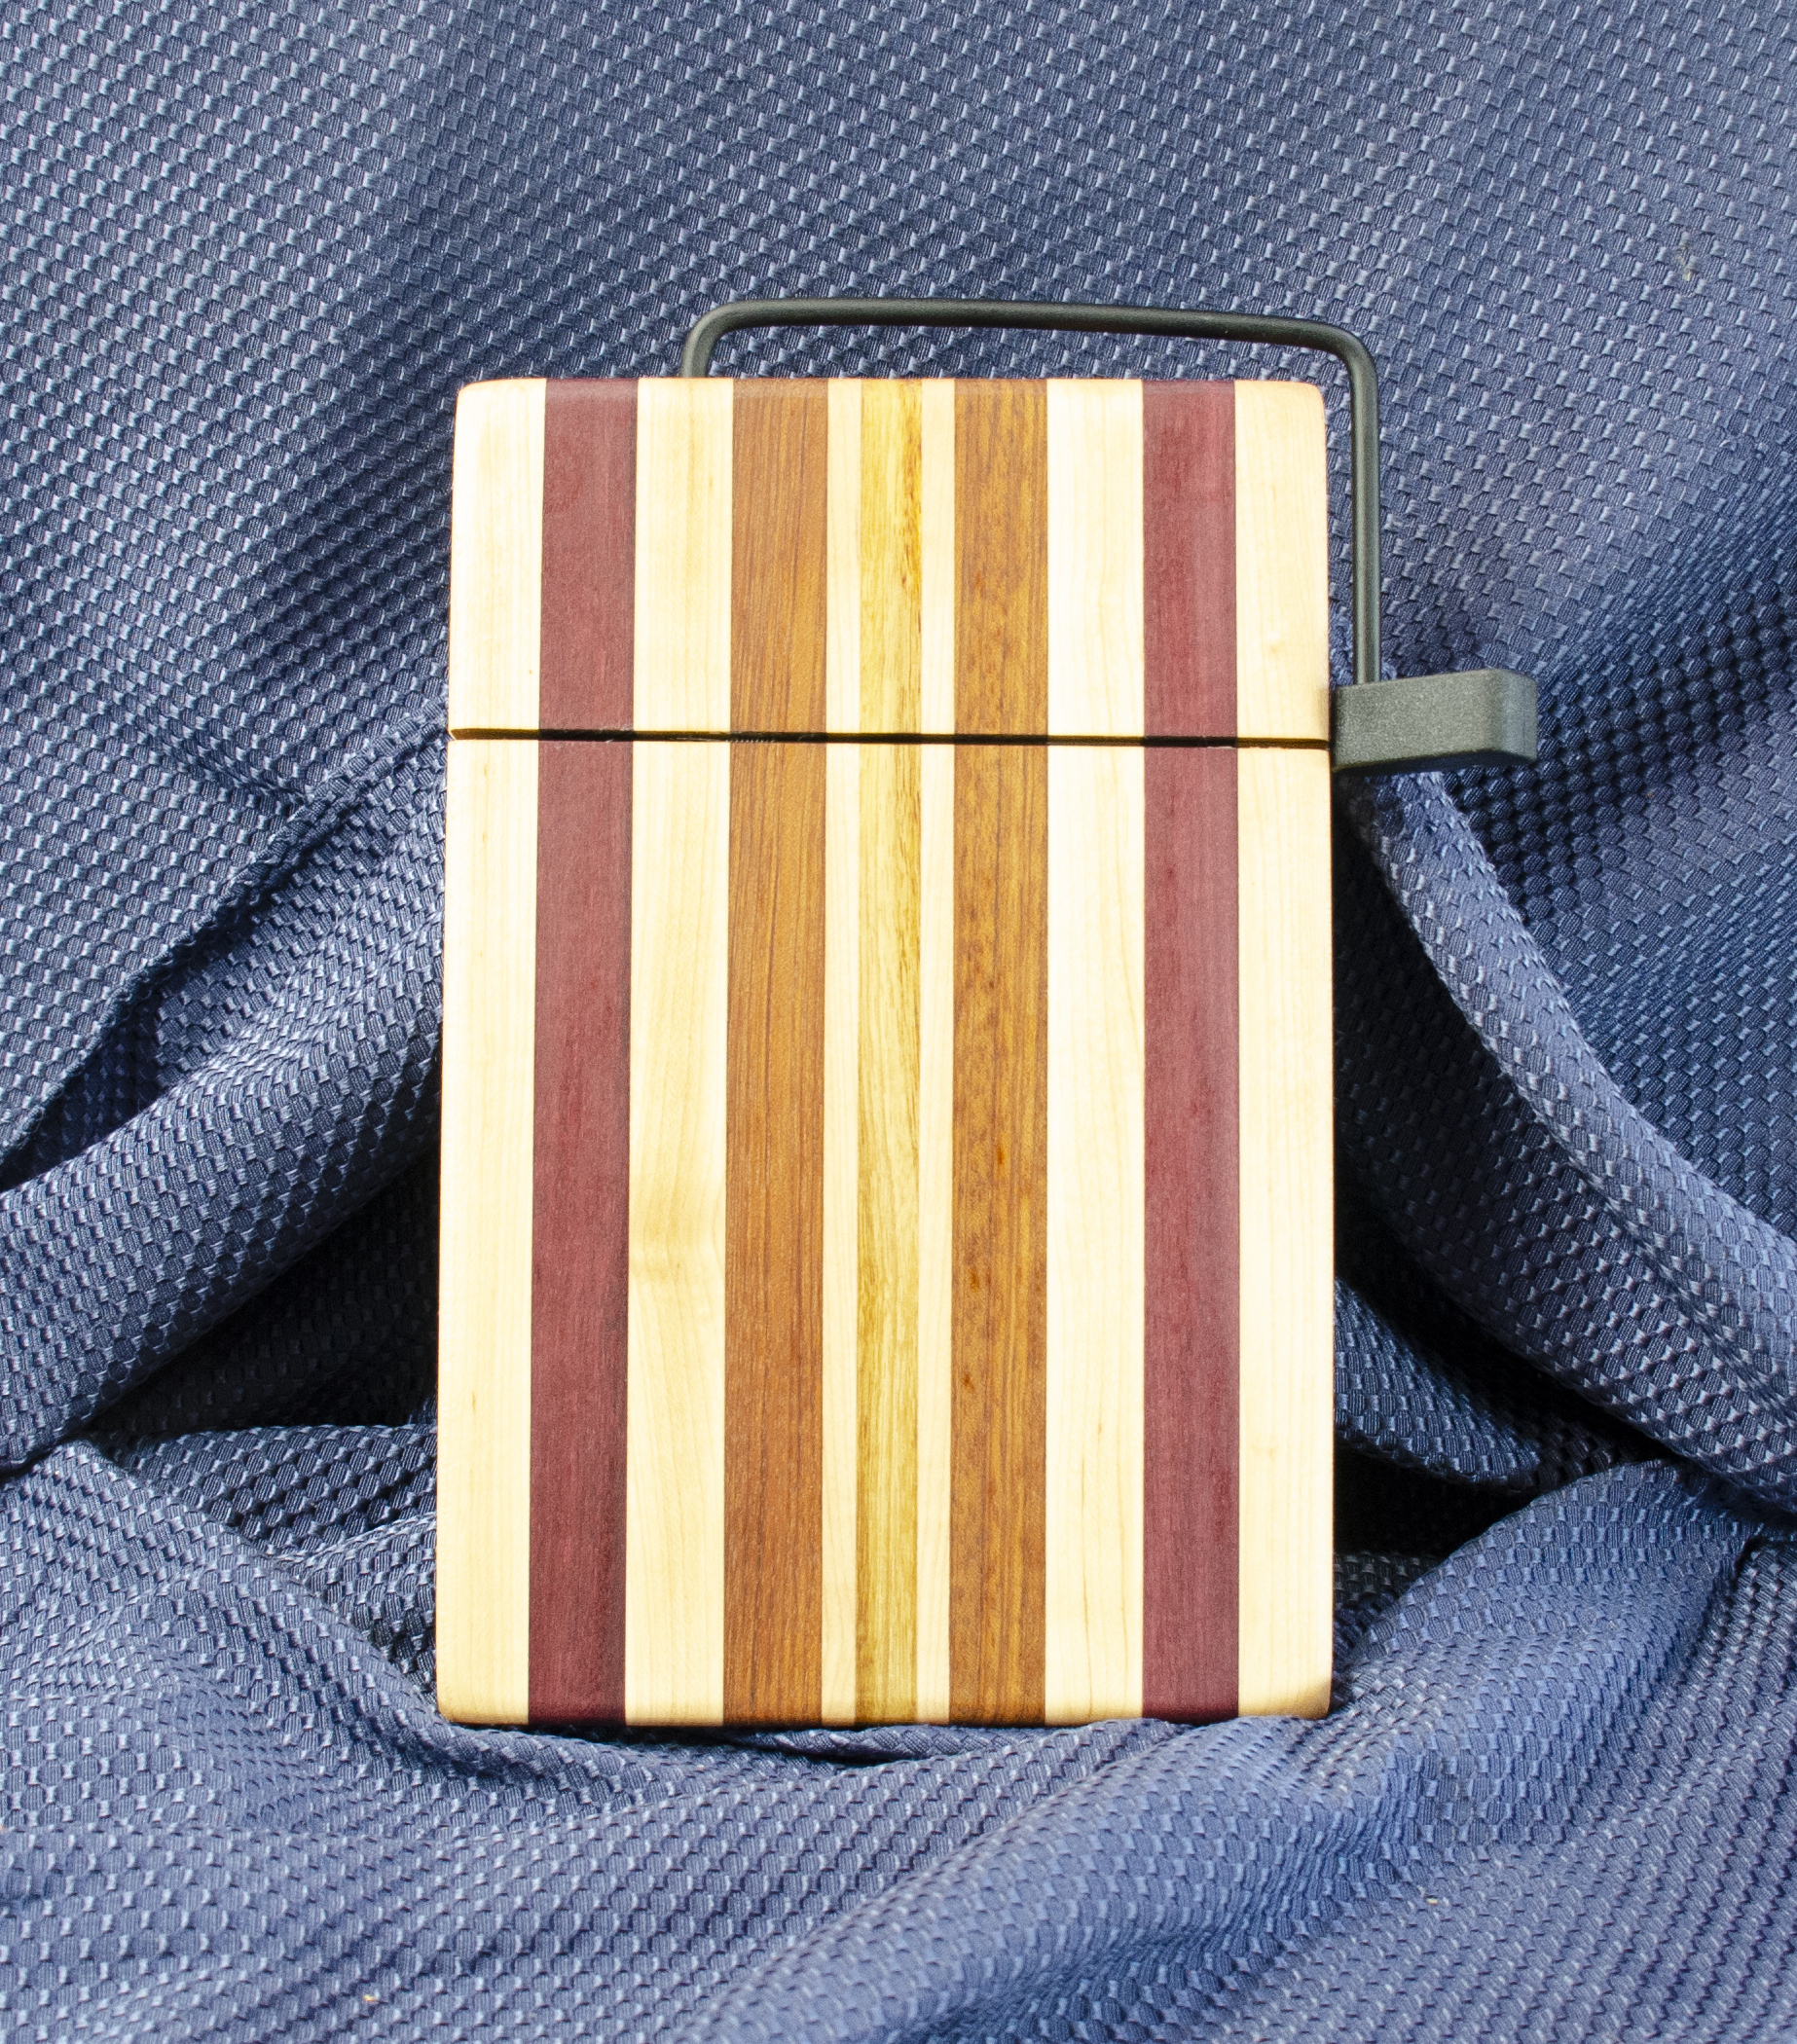
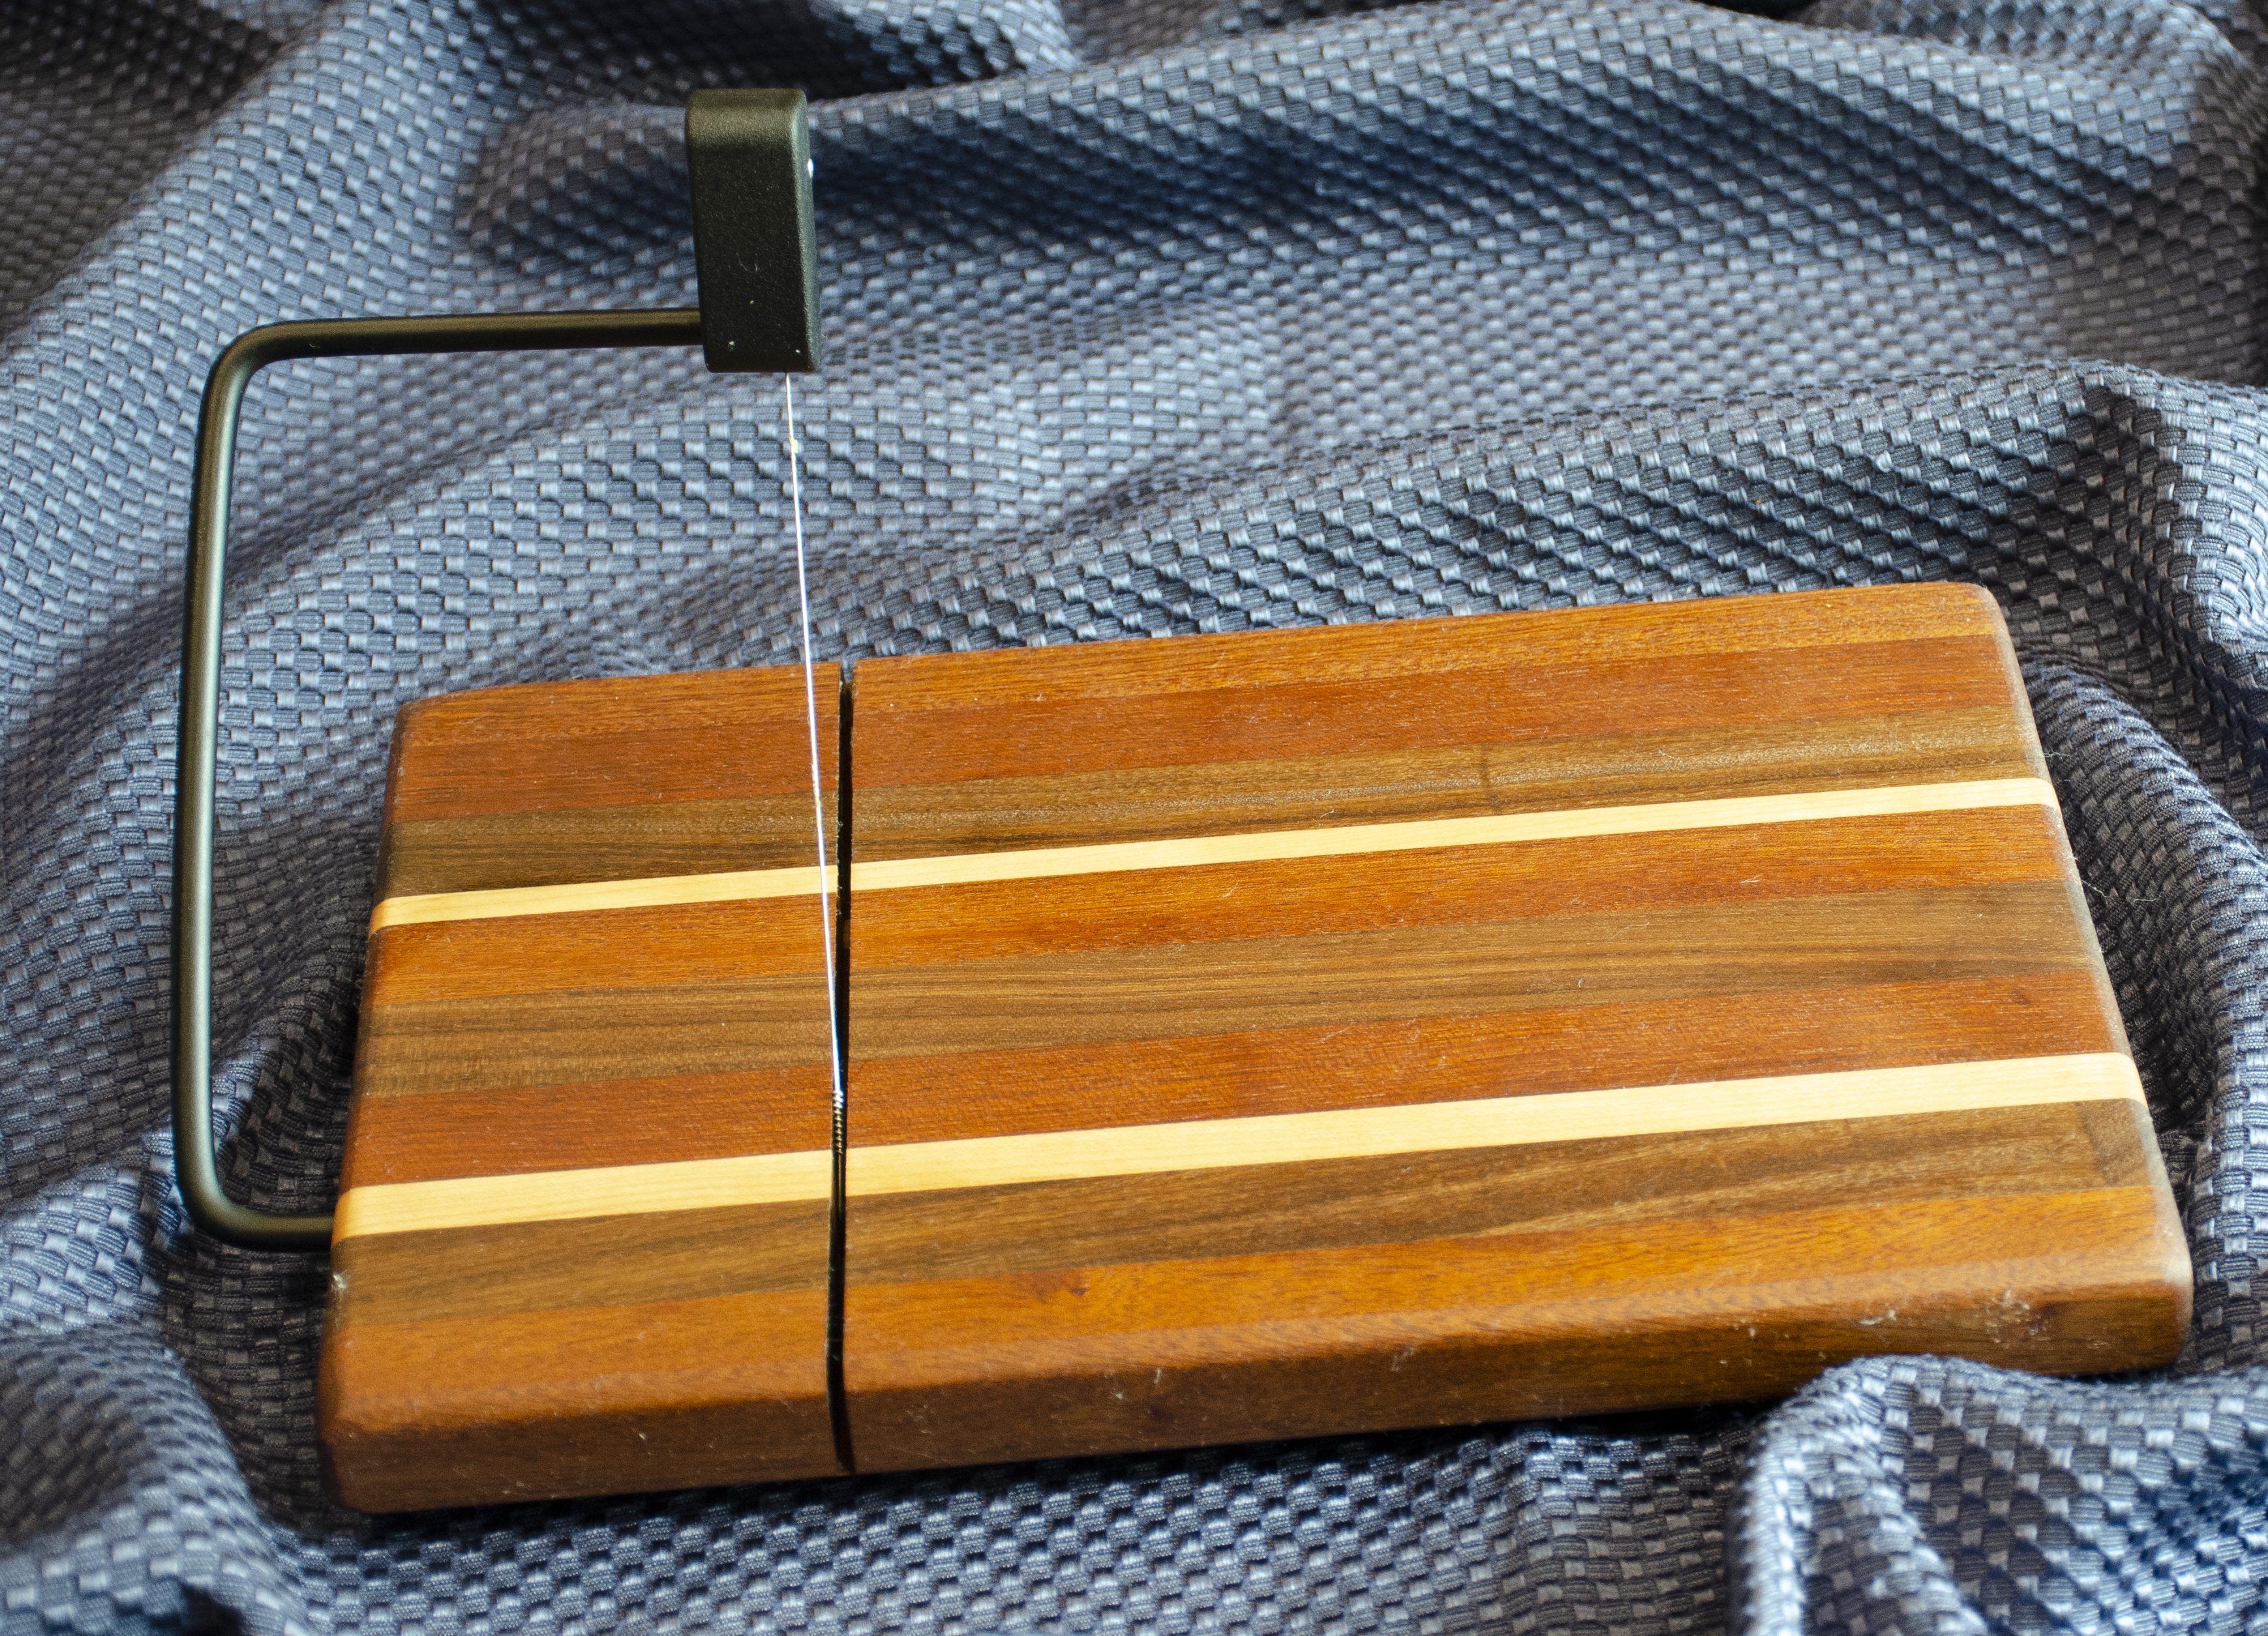
Each of these slicers is approximately 8″ x 11″ x 7/8″, with the wired slicer having a 5″ radius. That’s actually the largest size available in the US. I carry slicers with both black and chrome handles, though all of these are black. Each slicer has non-skid rubber feet to ensure the tool doesn’t move when you are depending on it!
If you are particularly enamored of one of these cheese slicers, just hover your mouse, or click on a photo & get the file name of the one(s) that you like. The file name will be in the format, “Cheese Slicer 20 – 4xx.” Put those numbers in the notes section of your order, and I’ll choose those for you if they are still available. And, yes, I recently upgraded MrMsWoodshop.com so you can buy directly and easily. Here’s a direct link to the cheese slicer page, and here are the latest slicers that have made it to the finish line:
Most of these are single items that got finished after the main batch was done for some odd reason. The MBO just got misplaced. The Cracker Thing needed another end cut. The sign (I actually made 6) was one that didn’t get made when I “completed” the rest of my inventory of signs.
For whatever reason, here are 8 different kinds of items that just finished.
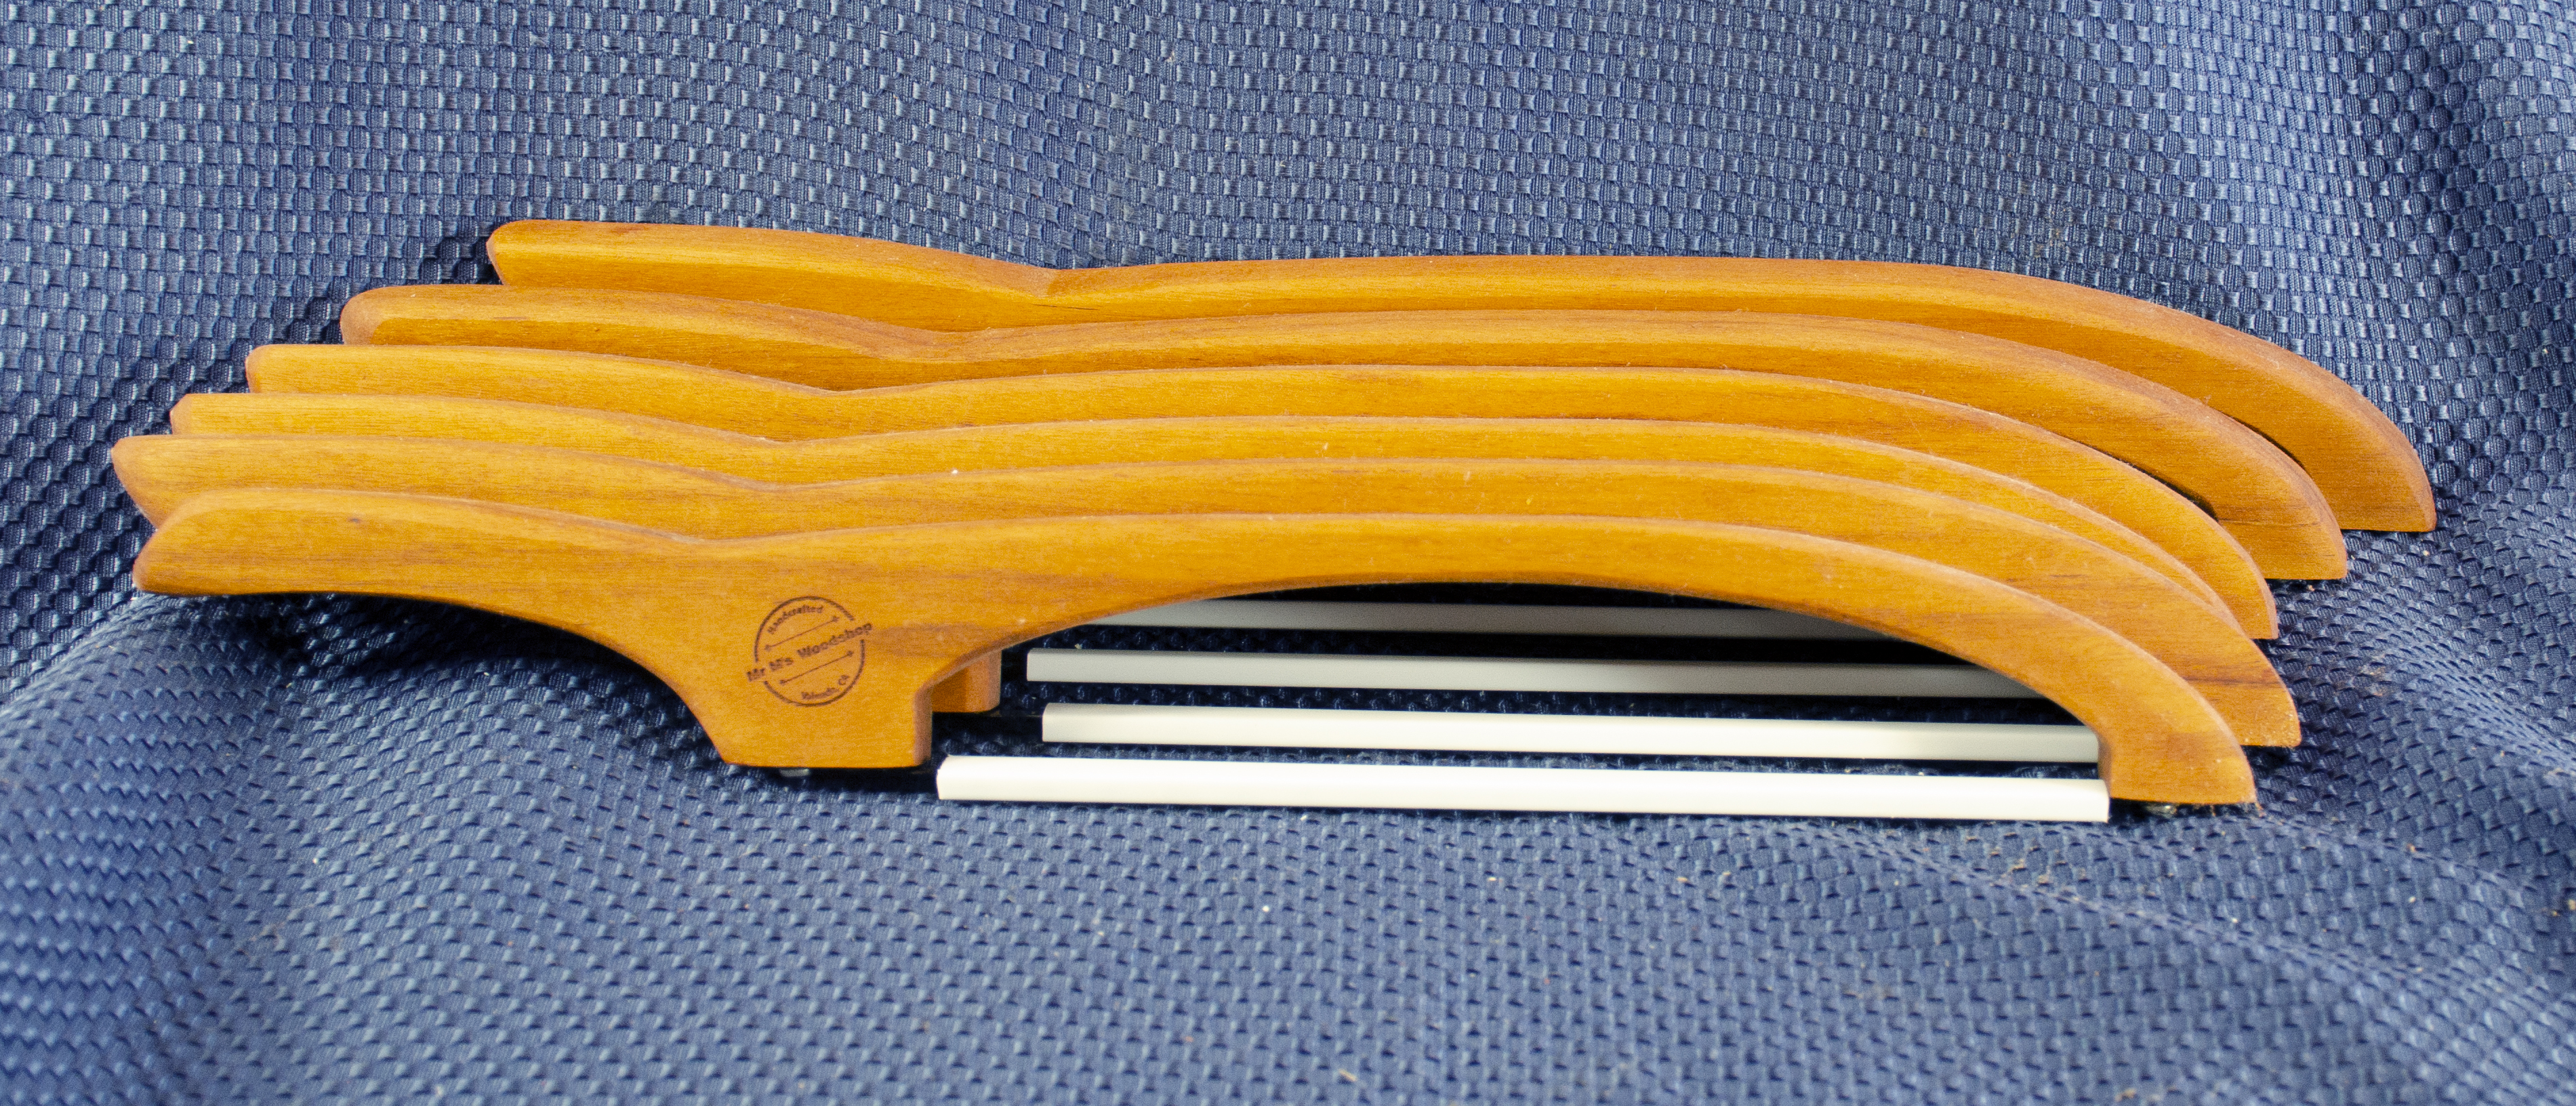
A few notes on the bread saws, as I made a very large batch of them:
There are 7 different kinds of woods here – Sapele, Hard Maple, Padauk, Purpleheart, Goncalo Alves, Cherry & Osage Orange.
My biggest injury in months was when my driver slipped and the bread saw blade went into my thumb. I actually used a band aid. These blades are sharp!
These pictures have the blade guards installed on every saw except for the one featured in the picture of the Purpleheart Bread Saws. Safety First!
A few of these Bread Saws have cord tied around the bow holding the saw blade. That’s how I identify left handed models.